
Hello! I don’t usually do this kind of thing, but since every time I do a lit model I always get peppered with questions on how I did it, I thought I’d put together this little blog to show some of what went into the build and maybe some of my insights on the process.
I’ve been building models since I was a kid on and off and it’s always been a mix of fun and relaxing. This is only the third model that I’ve actually put lighting in, and it definitely adds a level of challenge and complexity to the build. Despite that, I find it rather fun, as there is a number of engineering type challenges involved in figuring out exactly what can be done and how to do it.
Now a days, it’s not hard to find lighting kits for many of the most popular sci-fi kits, these can come with instructions and all the parts necessary to do the job. Which is all really cool, but being a tinkering type, I prefer to build my own from scratch.
Starting things off
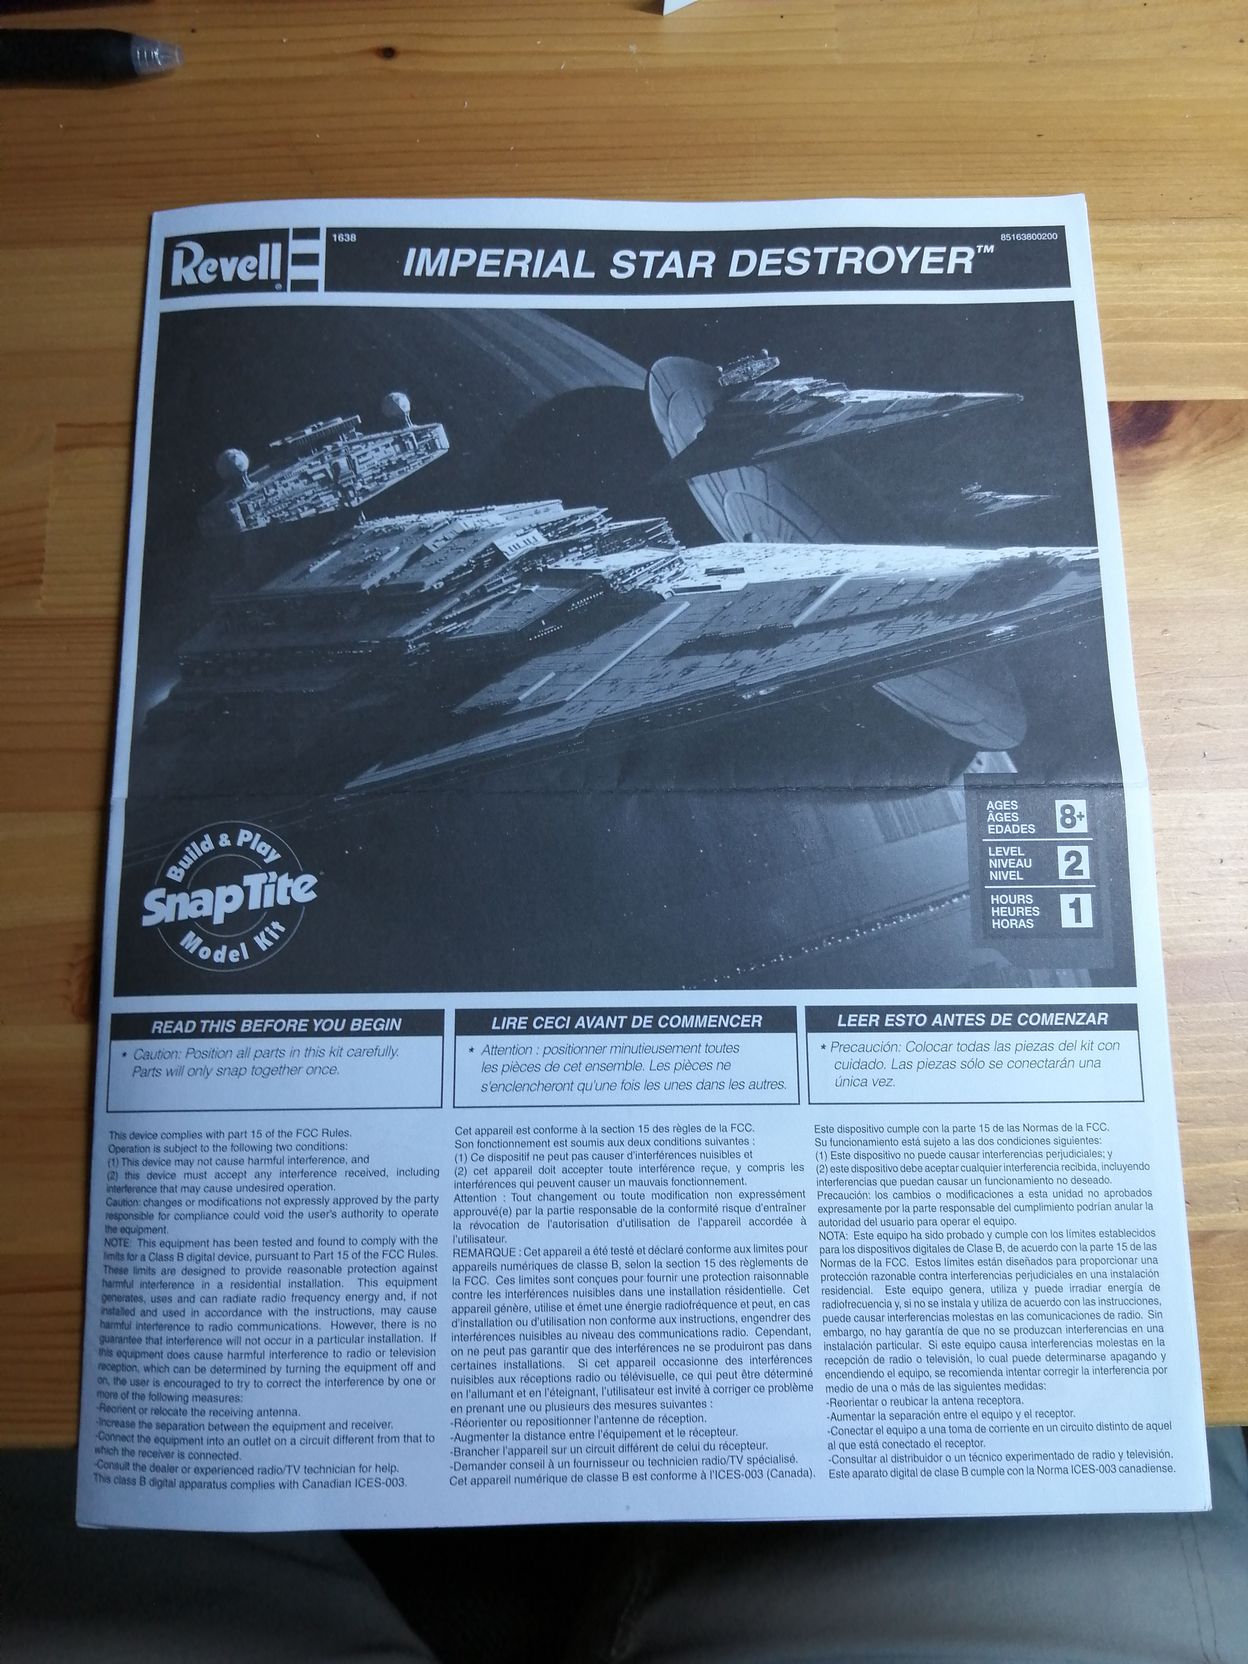
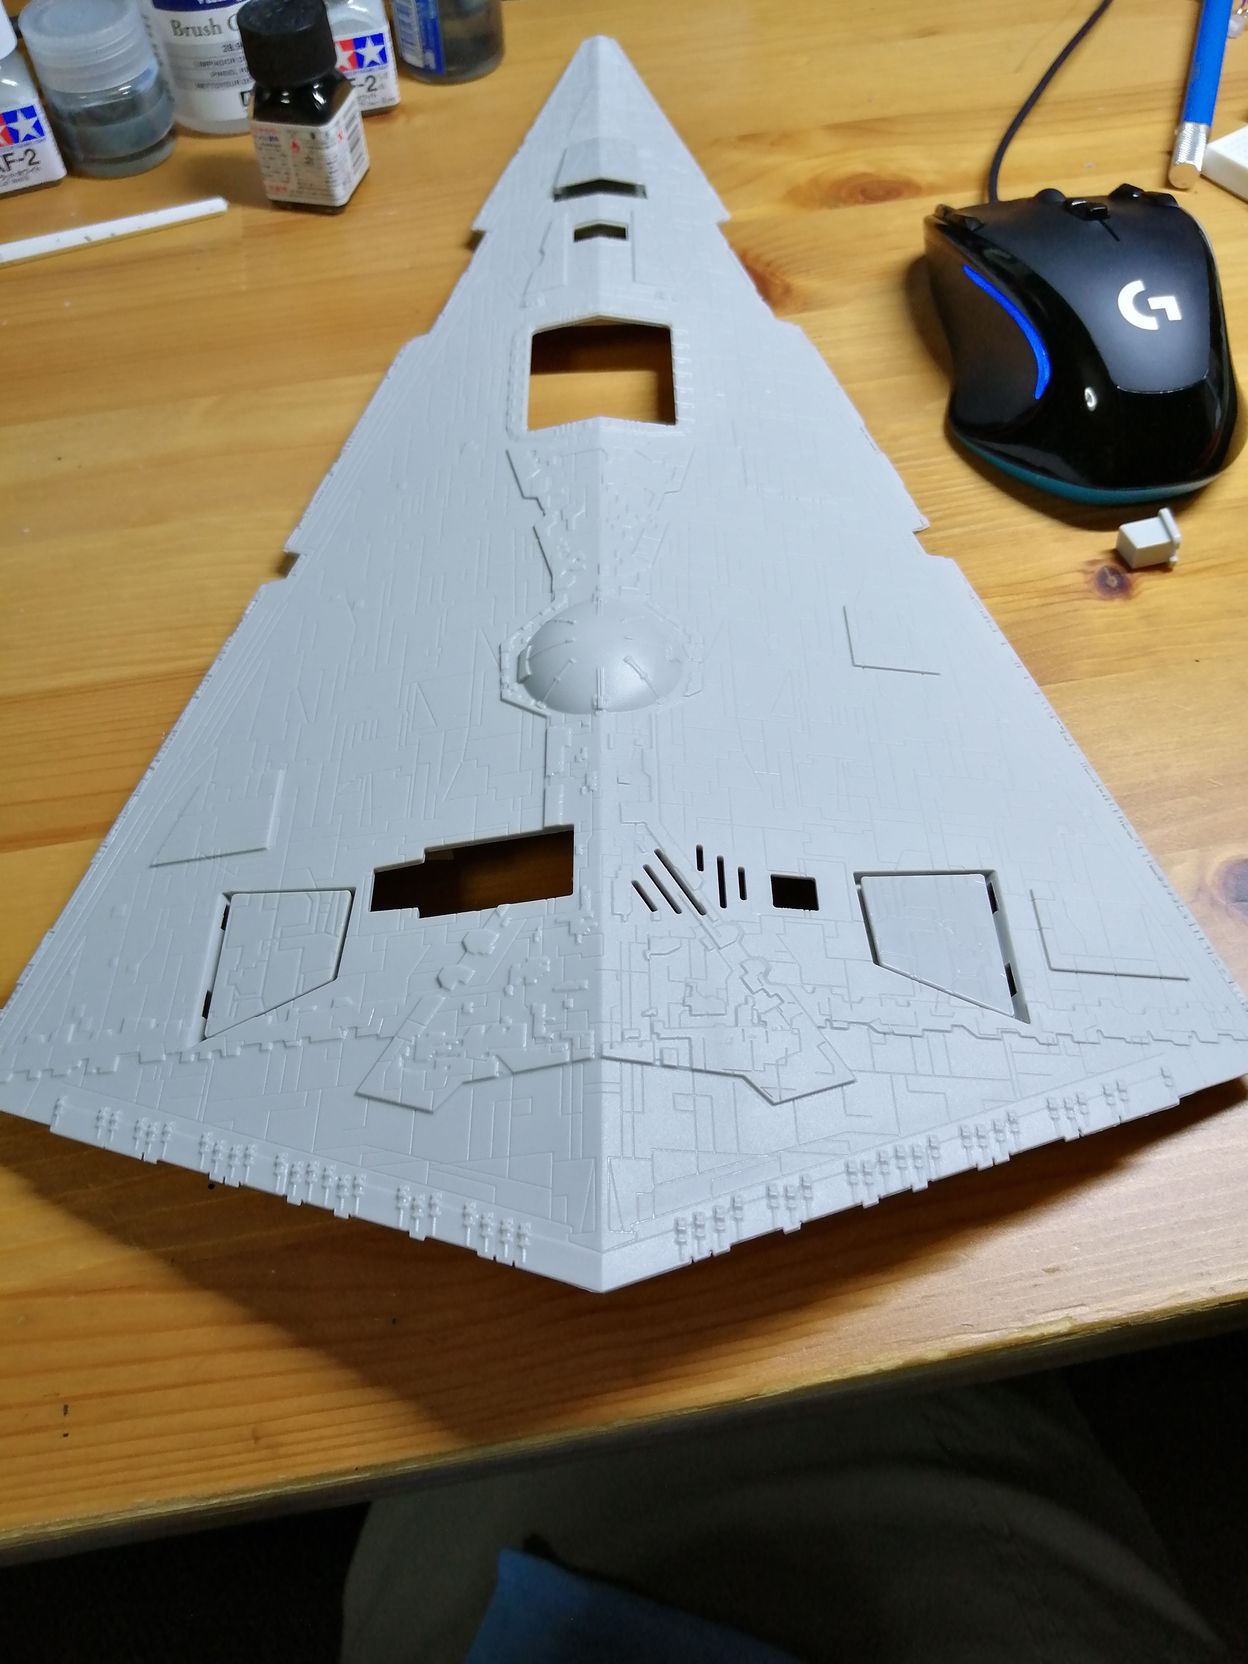
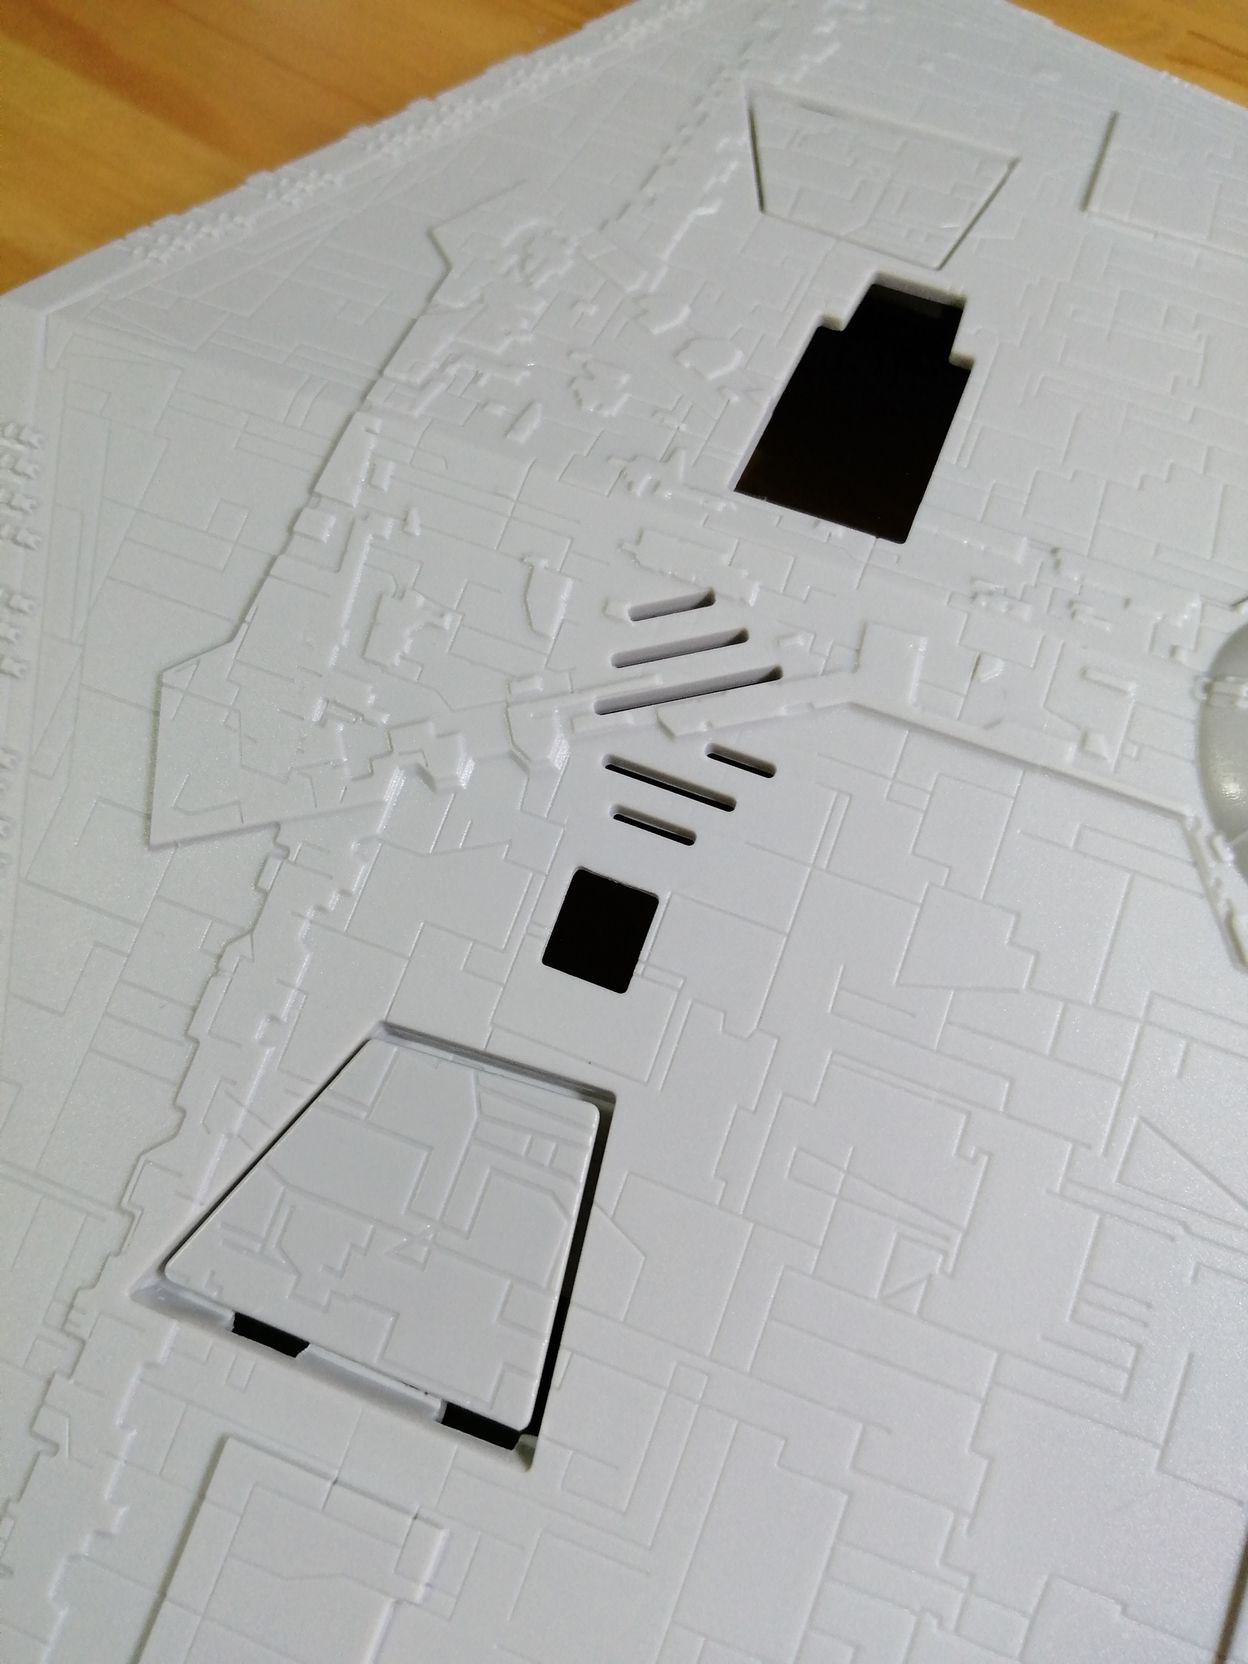
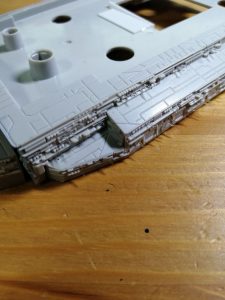
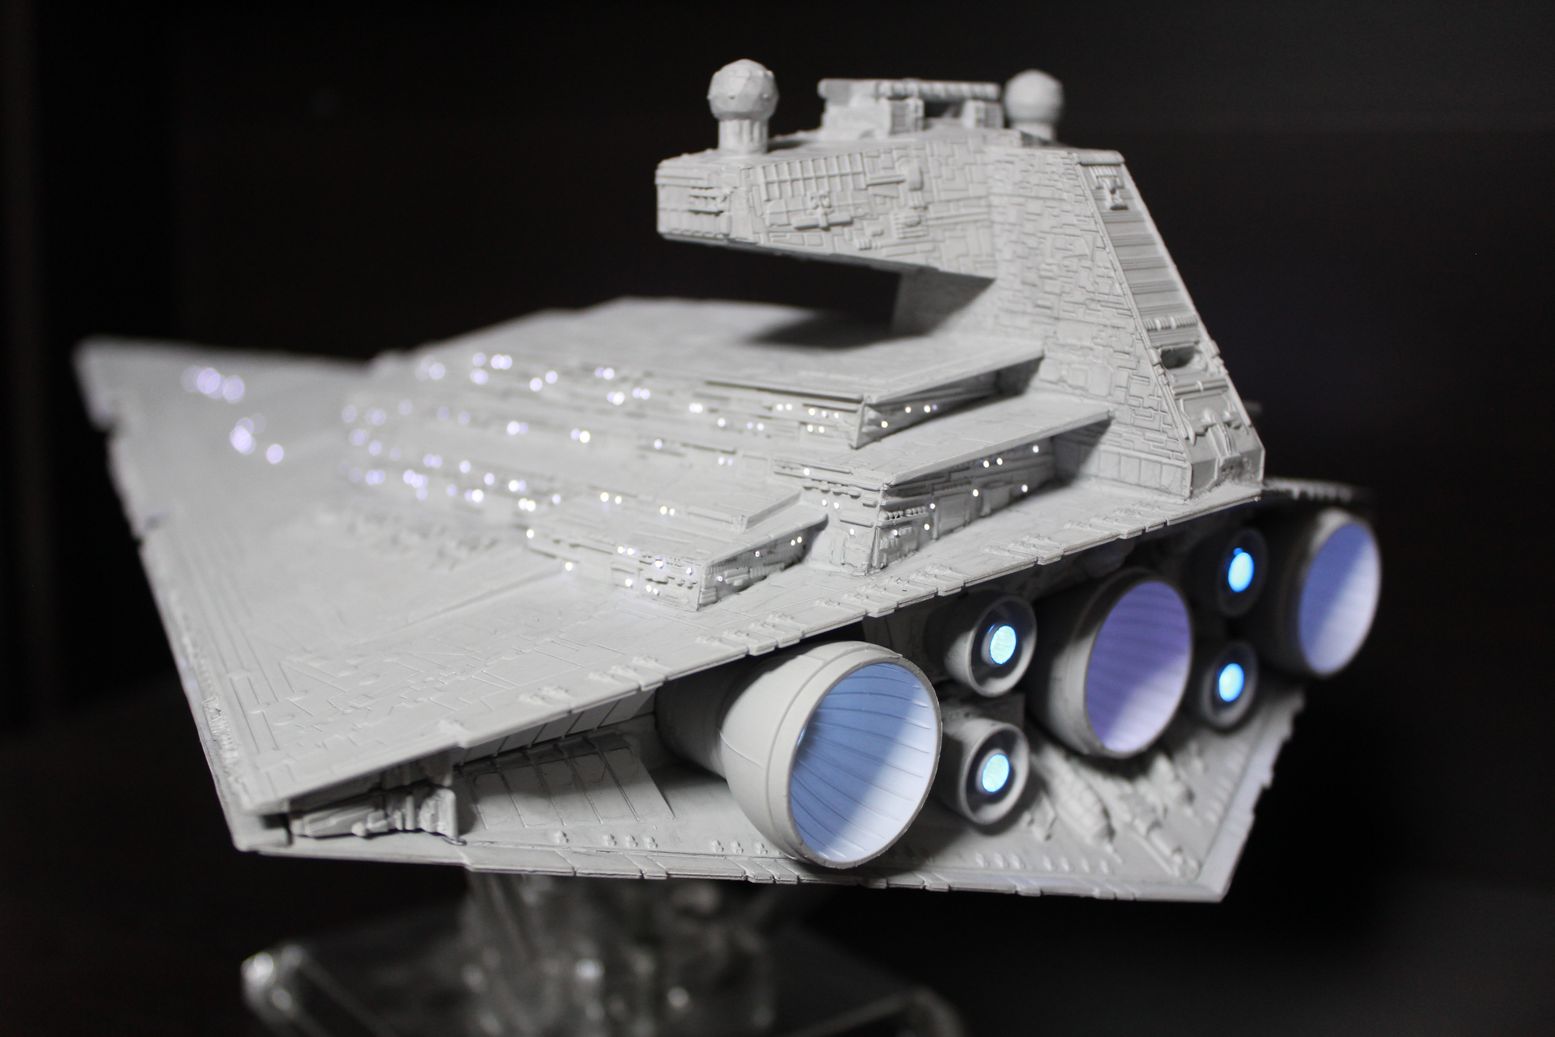
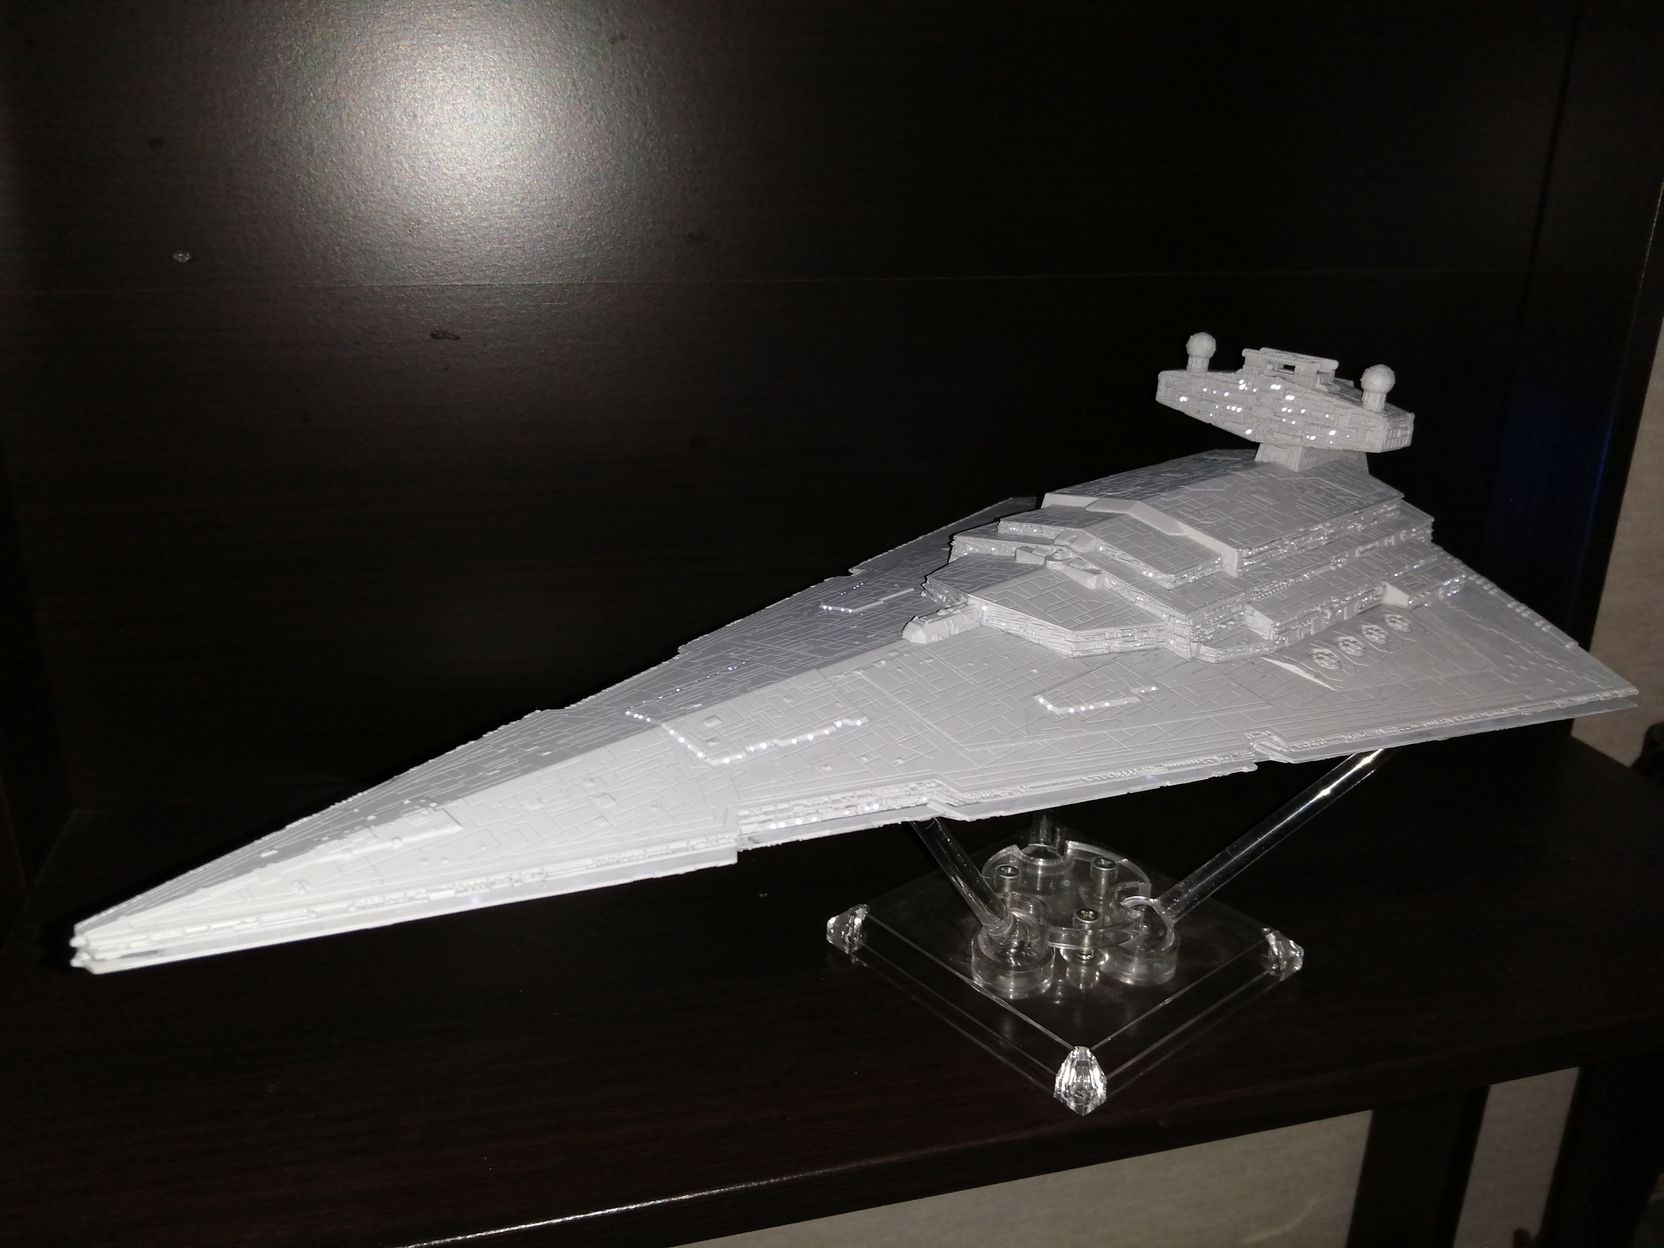
Ok, first, this is the Revell Build and play Star Destroyer that was released a few years ago, I think around the release of Rouge One. As Star Destroyer offerings go it beats the old 80’s kit in many ways. It’s got decent details, the lines are pretty crisp and you can build it out of the box in about fifteen minutes. It is a ‘build and play’ kit though, so there are a lot of peculiarities on the kit. The biggest issues are on the bottom side. There are three flip out ‘landing gear’ that are of course completely unrealistic. There are also cutouts for the provided ‘lights and sound’ module so that you can get to the batteries, slits for the sound to get out and a push button to turn the module on. All of these require some degree of filling, sanding and scribing to clean up.
This is not as nice a kit as the other recent offerings from Bandai or Zevezda, but it does fit in a nice mid size and while I do have the Bandai kit taunting me from my shelf, I figured this would be a good little project to practice on, and test things out before I tackle the smaller, though exceptionally detailed Bandai kit.

Planning things out
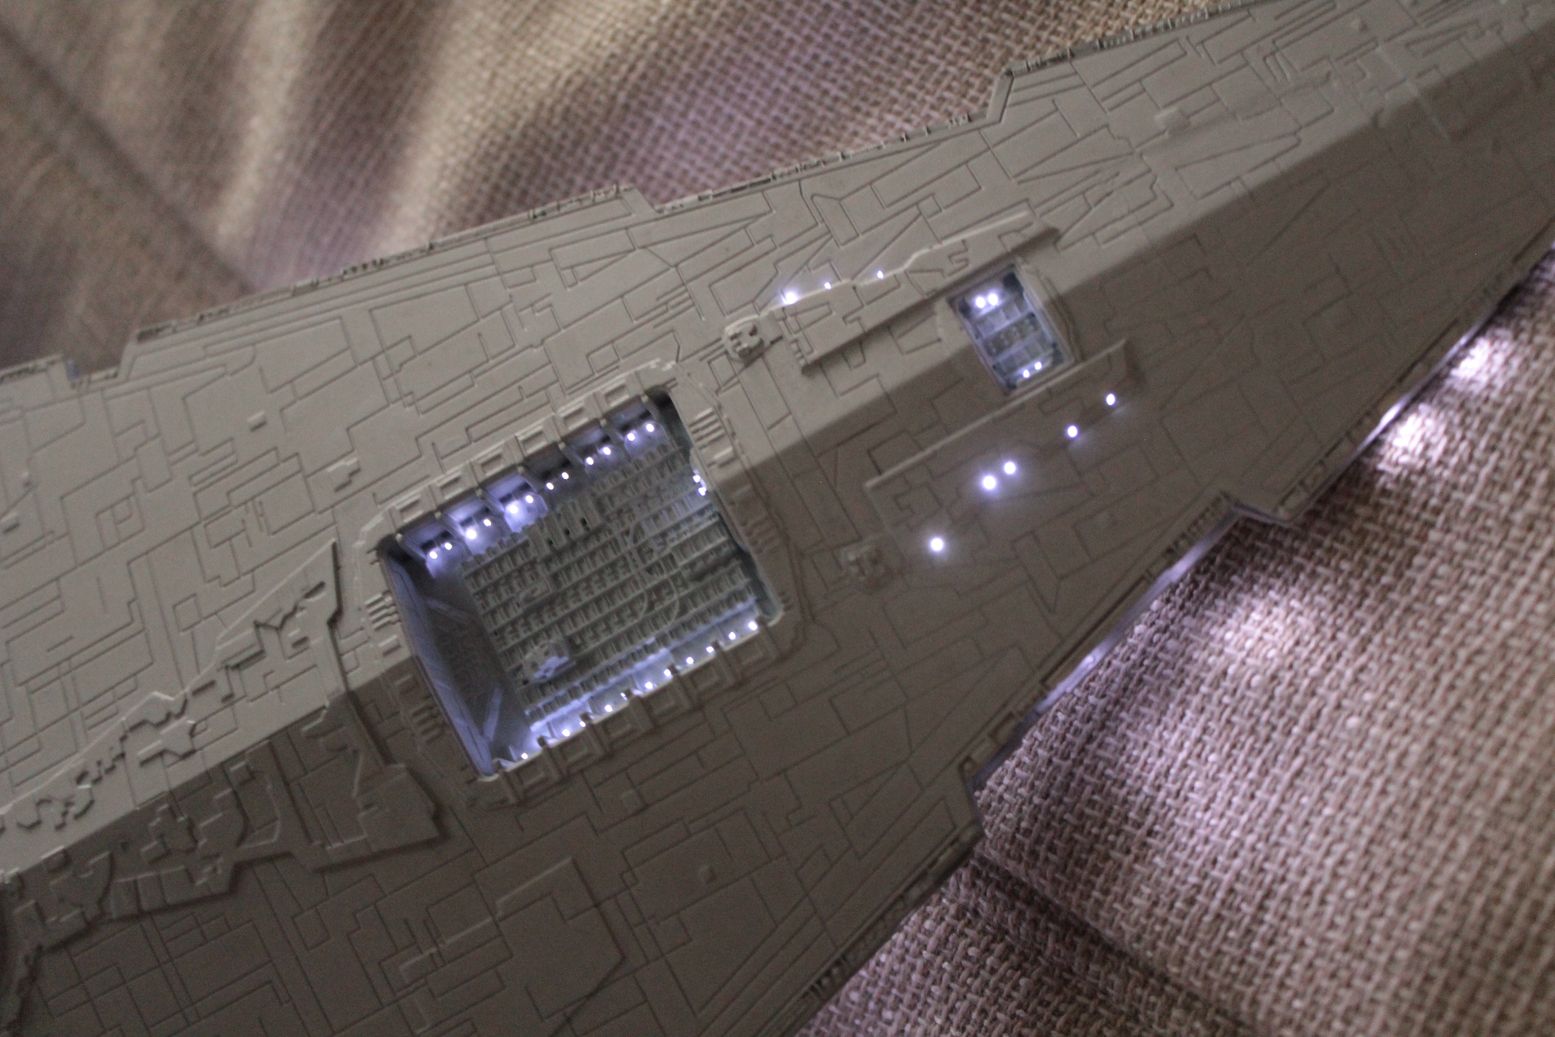
One of the things I like about lighting kits is the planning that goes into them. Of course, that means making choices. For this kit, that meant picking out how I wanted to light it. For this kit, that means the windows and the engines. In this case, I decided to light the windows with fiber optics and the engines with LEDs directly.
For things like windows there are really two big choices. Fiber optics is one and back lighting is the other. Each has it’s advantages and disadvantages. My quick thoughts on the differences can be broken down this way:
Fiber optics
Pros
– Direct light to where you want it
– Easier to contain where the light goes
– Good for small round windows
– Can mix different light colors easily
– Good for getting light into complex areas
Cons
– Need a fiber strand for every window you want to light
– Need a light source for every fiber strand
– Need space to run all the fiber and hold light sources
Back Lighting
Pros
– Good for lighting differently shaped windows
– Can light many windows with only a few light sources
Cons
– Need to be very careful for light leaks from edges, and thin or translucent plastic.
– Can’t mix colors without careful light boxing
– Can be difficult to get light into corners and edges
– Can get lighting ‘hot spots’ if the back lighting isn’t diffused carefully
So for something like the Star destroyer, where I have plenty of space to run fibers, it makes things easier than trying to back light the windows. Especially,with one of the other decisions I made with this build. That being that I wanted to try and keep the power inside. That meant I wouldn’t be completely sealing up the kit, so that I could open it up to replace the batteries when necessary. As such, I’d be risking huge light leak issues if I tried to do back lighting, since the plan was to keep top and bottom main hull unsealed, and I needed to put lights on the windows in each side trench.
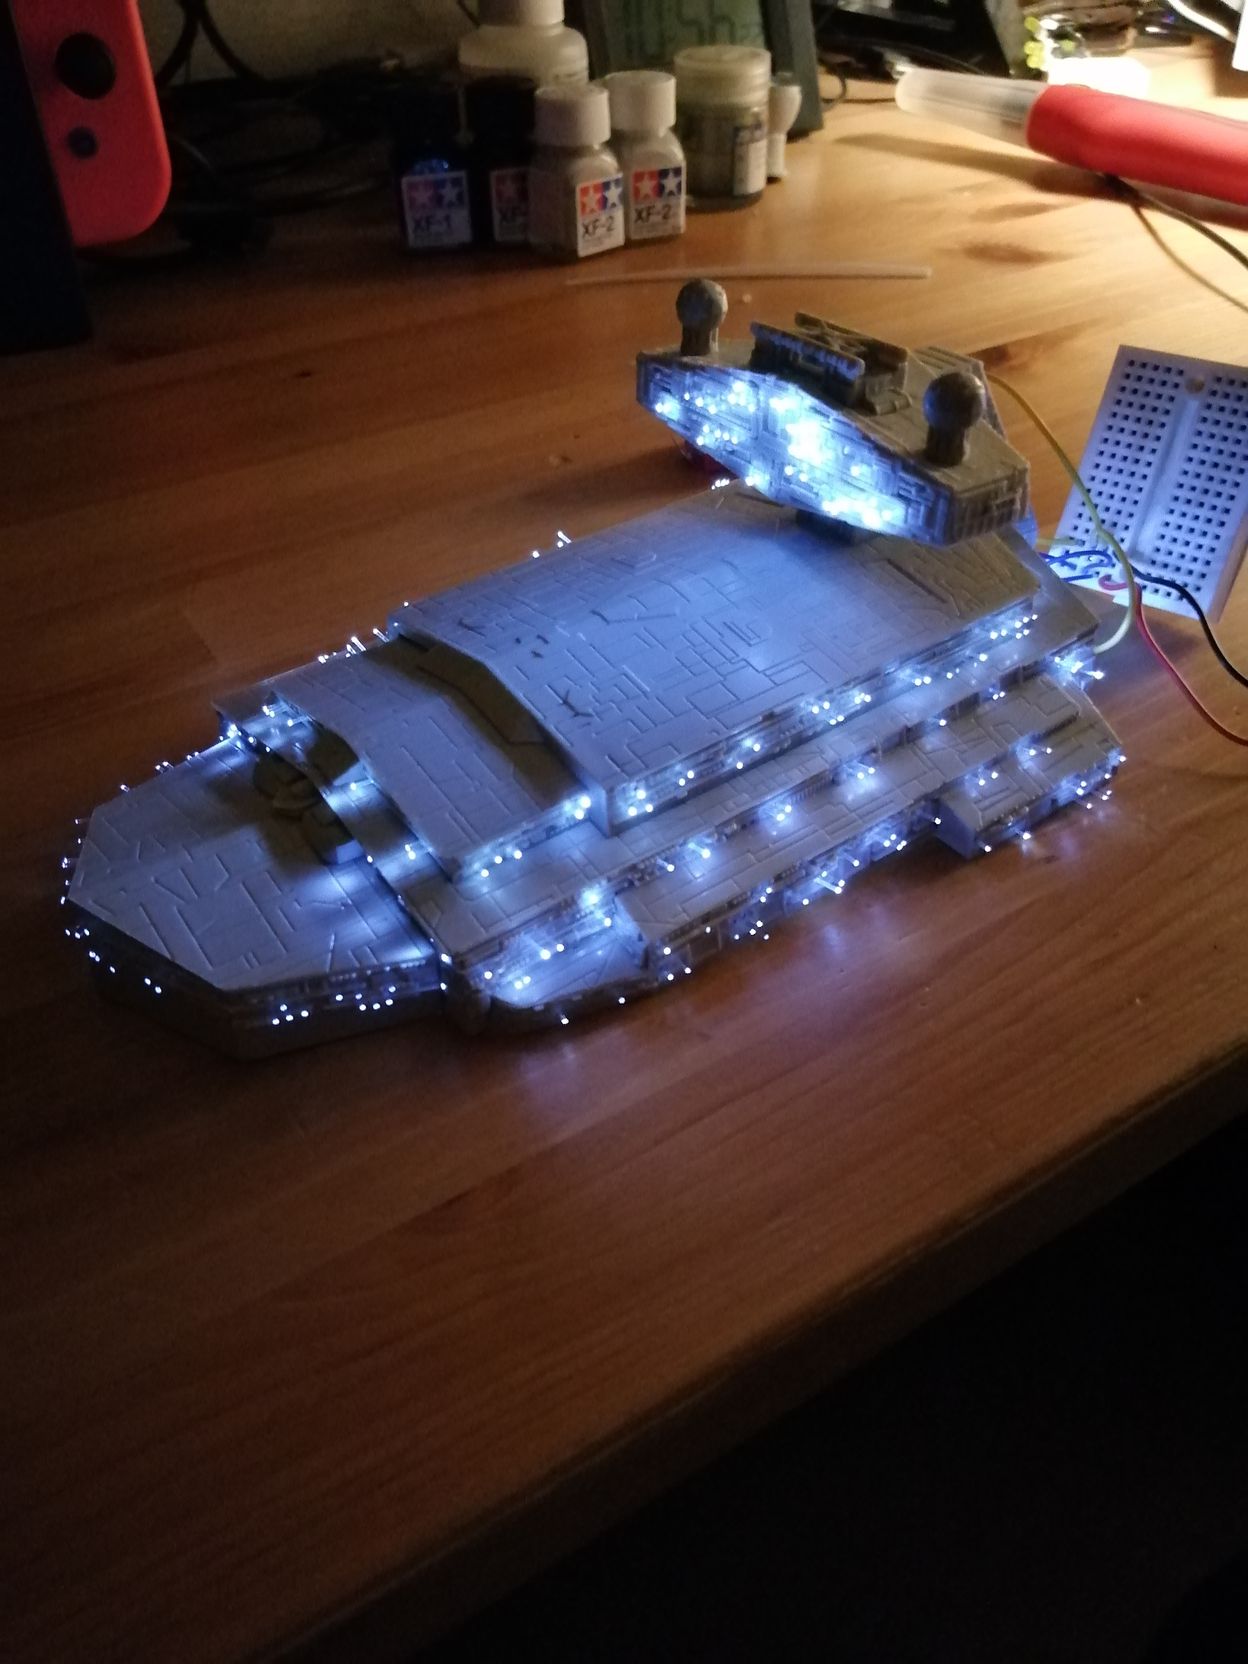
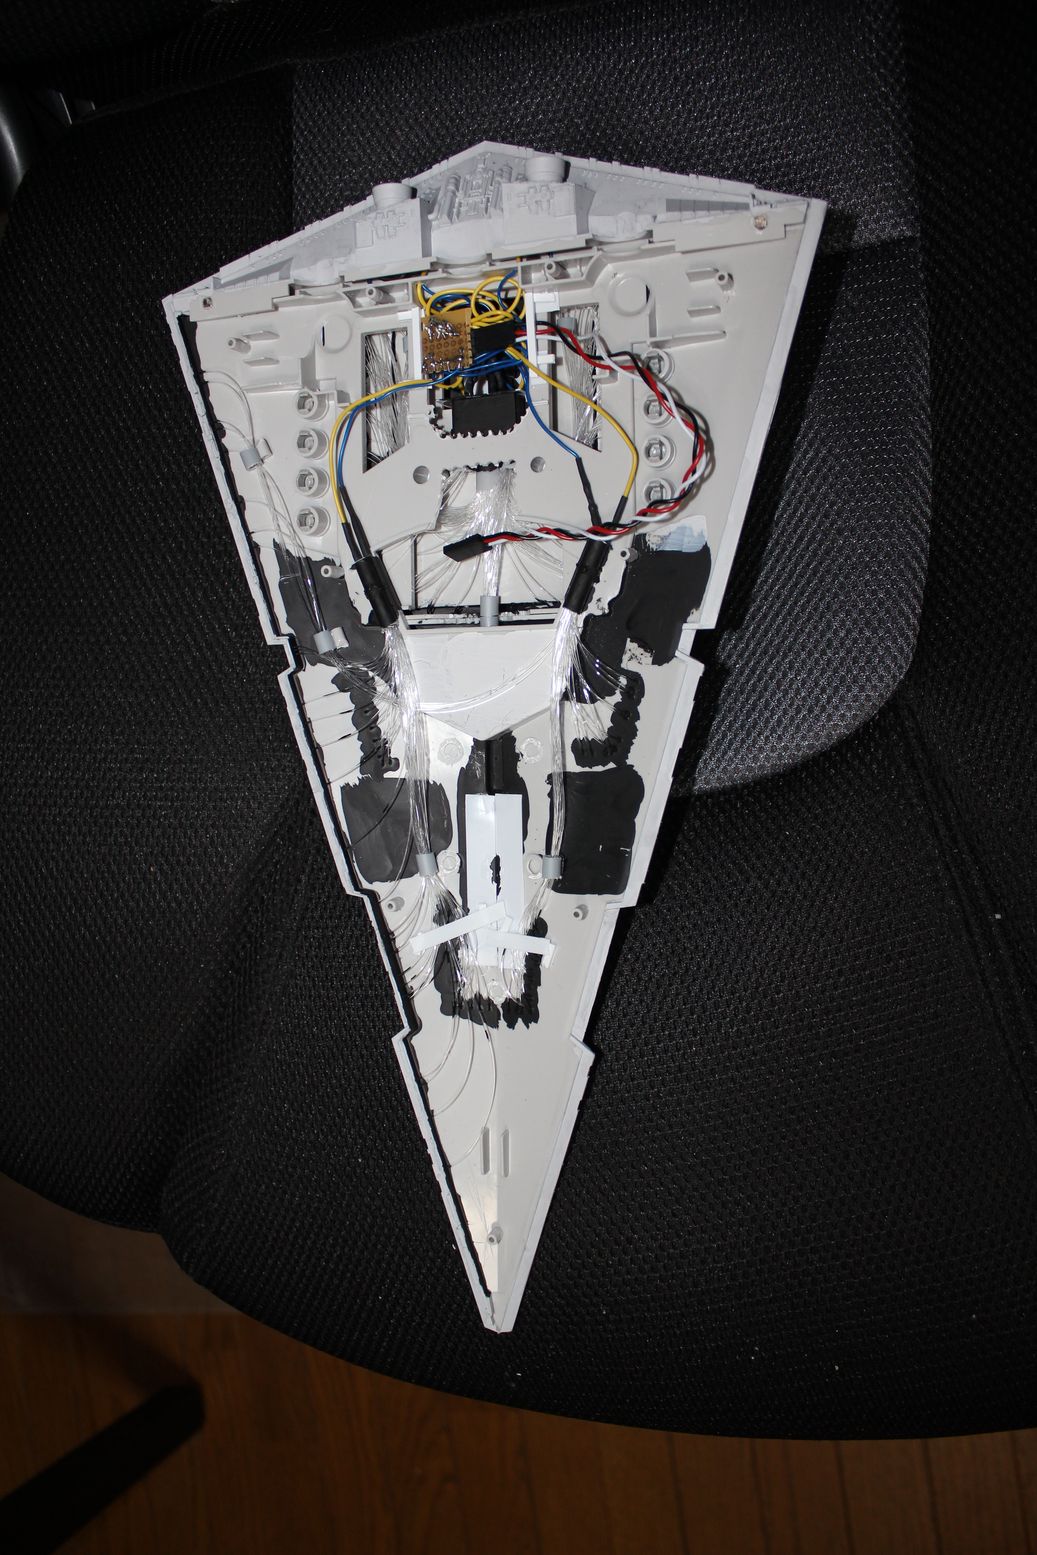
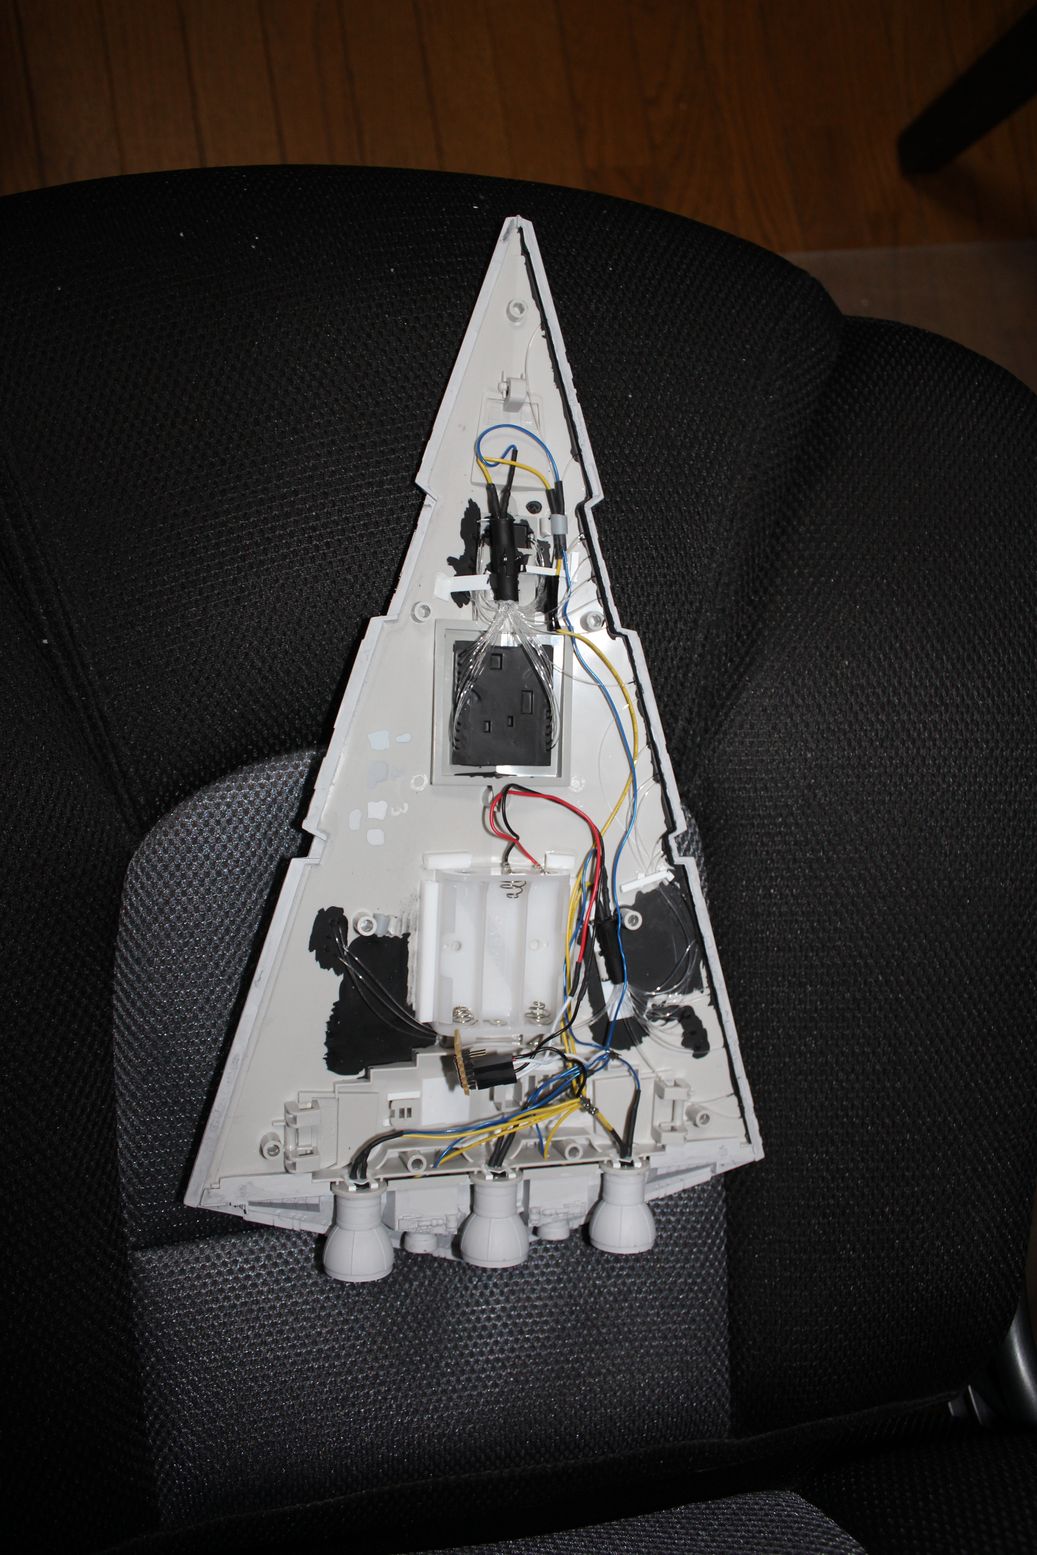
Running Fiber
So with that decided, I proceeded to start running the fiber. This involved a lot of drilling with a 0.5mm drill bit in a pin vise. Somehow I managed to drill all the holes while only losing two bits. There was also a lot of gutting of the internals and drilling of access paths for the fiber to run through. Since this was heavily built up to be a build and play kit, it’s actually got a lot of really hardened internal structure with snap tight pins. I removed a lot of them to open up space, and to make it easier to pop the halves of the kit open later.
A key point in using fiber is making light boxes. Technically, you don’t need them, so long as your light source goes into one end of the fiber, the light will come out the other, but since that can lead to light leaks, it’s better to create a light box. So what is a light box? It’s basically a box or tube where the fiber goes in one side and there is a light source on the other. Then it’s sealed up to contain the light so that it only goes out through the fiber.
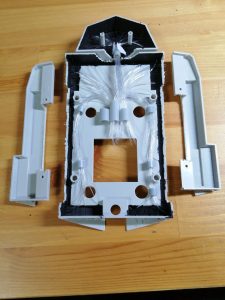
So when running the fiber, decide how you want to make your light boxes and where to put them. Then you can start designing your fiber fiber runs. In my case, I choose to make my light boxes out of plastic tubes. I secured the tubes that would house the fiber end points and then some additional tubes where it would be useful to help direct where the fiber would run. You don’t want loose fiber running everywhere or it’ll be a serious pain. Another point is to spread the light boxes around so that you don’t need to run more fiber than you have to. You could choose to run all your fiber to one light box, but then you’d have huge runs of fiber from all over the kit, which can be a pain to manage, and you’d use up a lot of length of fiber. It’s better to choose strategic spots spread around the kit so that you can run short lengths of fiber and make the project more manageable. In my case I had 5 light boxes on the upper section and three on the lower.
For each piece of fiber, I made sure to leave a quarter inch or so of fiber poke out from the kit, and the same on the other end at the light box. This will be trimmed up once everything is done. You want the bit on the outside so you can trim it off cleanly once the kit is painted.
Once I finished running the fiber in each section. I painted the areas around the fiber with black enamel paint. I did this for a couple of reasons. First, it was as a backup light blocking. It’s always better to plan on some like leakage from your light boxes just in case there is more light than expected. Once you’ve built up the kit, it can be very hard to go back and fix it later. The other reason is to help hold the fiber in place. Fiber optics doesn’t respond to many plastic glues and when it does, it can melt and lose it’s effectiveness for lighting and make a unholy mess to cleanup. For the same reason, don’t try using super glue with fiber! I made that mistake and before and it was a horrible mess to fix after loads of fiber melted into the hull. There are other ways to hold fiber in place than paint, white glue can be another good choice, the best idea is to test out your plan with some spare fiber and plastic first.
Once the fiber runs were complete, I would trim up each section’s fiber as it exited the light box so that it would be neat inside. Then I prepared the other end of the light box so that the LED could be attached later. Once the light box is built up, I made sure to coat it with several layers of good blocking paint. Black and thick metallic paints work well for this. This usually helps well with light blocking.
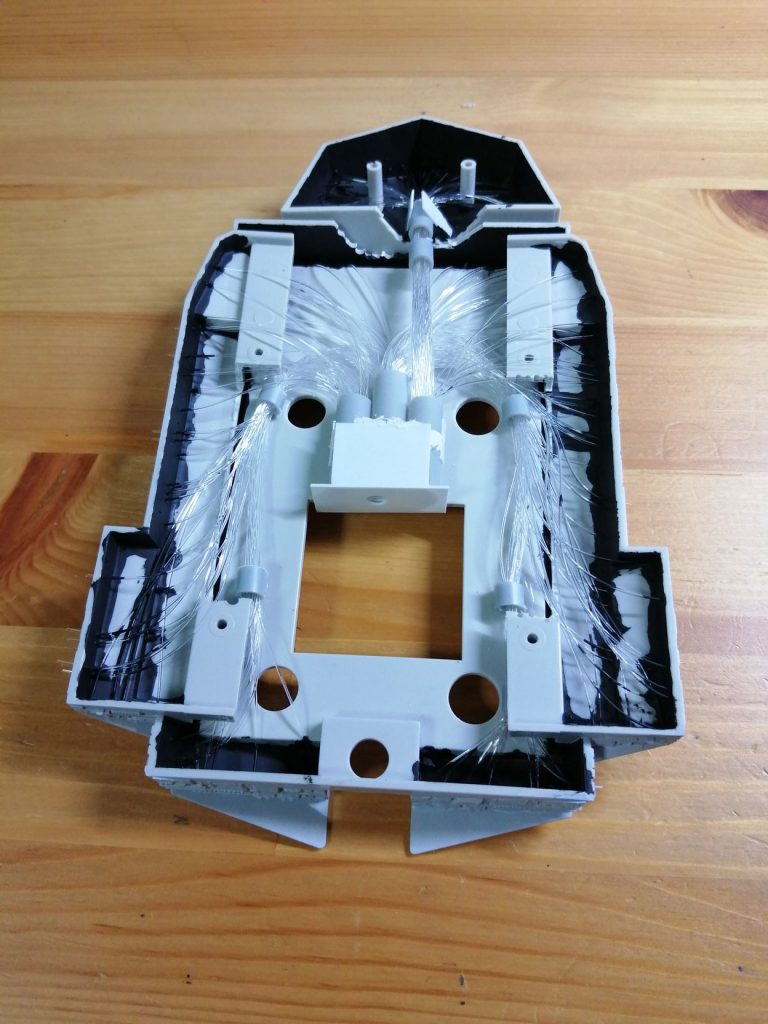

Fiber runs and light boxes 


LEDS and Wiring
Another of the big things with lighting of course is your light source. Now a days, LEDs are one of the best choices, though there are other good ones as well. They don’t consume a lot of power, and don’t generate heat if they are wired up correctly. For this kit, I went with a simple run of parallel loops for the LEDs. I choose parallel loops because that way if one LED does burn out, the rest will still work. That isn’t may not always be the best choice, but that is one you should make for each kit you build. Since I’ve got easy access to the internals on this build, replacing an led isn’t the scary thing it might be in other builds.
The LED circuit is pretty easy, a resister on the positive input and then wired up to the power. Repeat for all LED loops. If you’re new to making electrical circuits, then you should be able to lookup how to wire up an LED. If you’re just starting out, I suggest keeping things simple, but if you pick up the components and a few bread boards, you can experiment until you get the right mix for what you want to build.
Once you’ve built up your circuit plan, make sure to test it out. Plug in breadboards are very helpful for this. It is a good idea to let this test run for a while and then make sure that none of the components heat up. If they do, you should make sure you’ve got the right resisters selected for your LEDs and they are attached to the right input. There is nothing worse than having a hot running circuit in your kit where it could do untold damage. Again I speak from experience, and had to dig into a built kit to rewire it correctly.
once the circuits are tested, then it’s time to attach the LEDs to the light boxes and finish sealing them up. At this point it’s time to proceed to the next step.
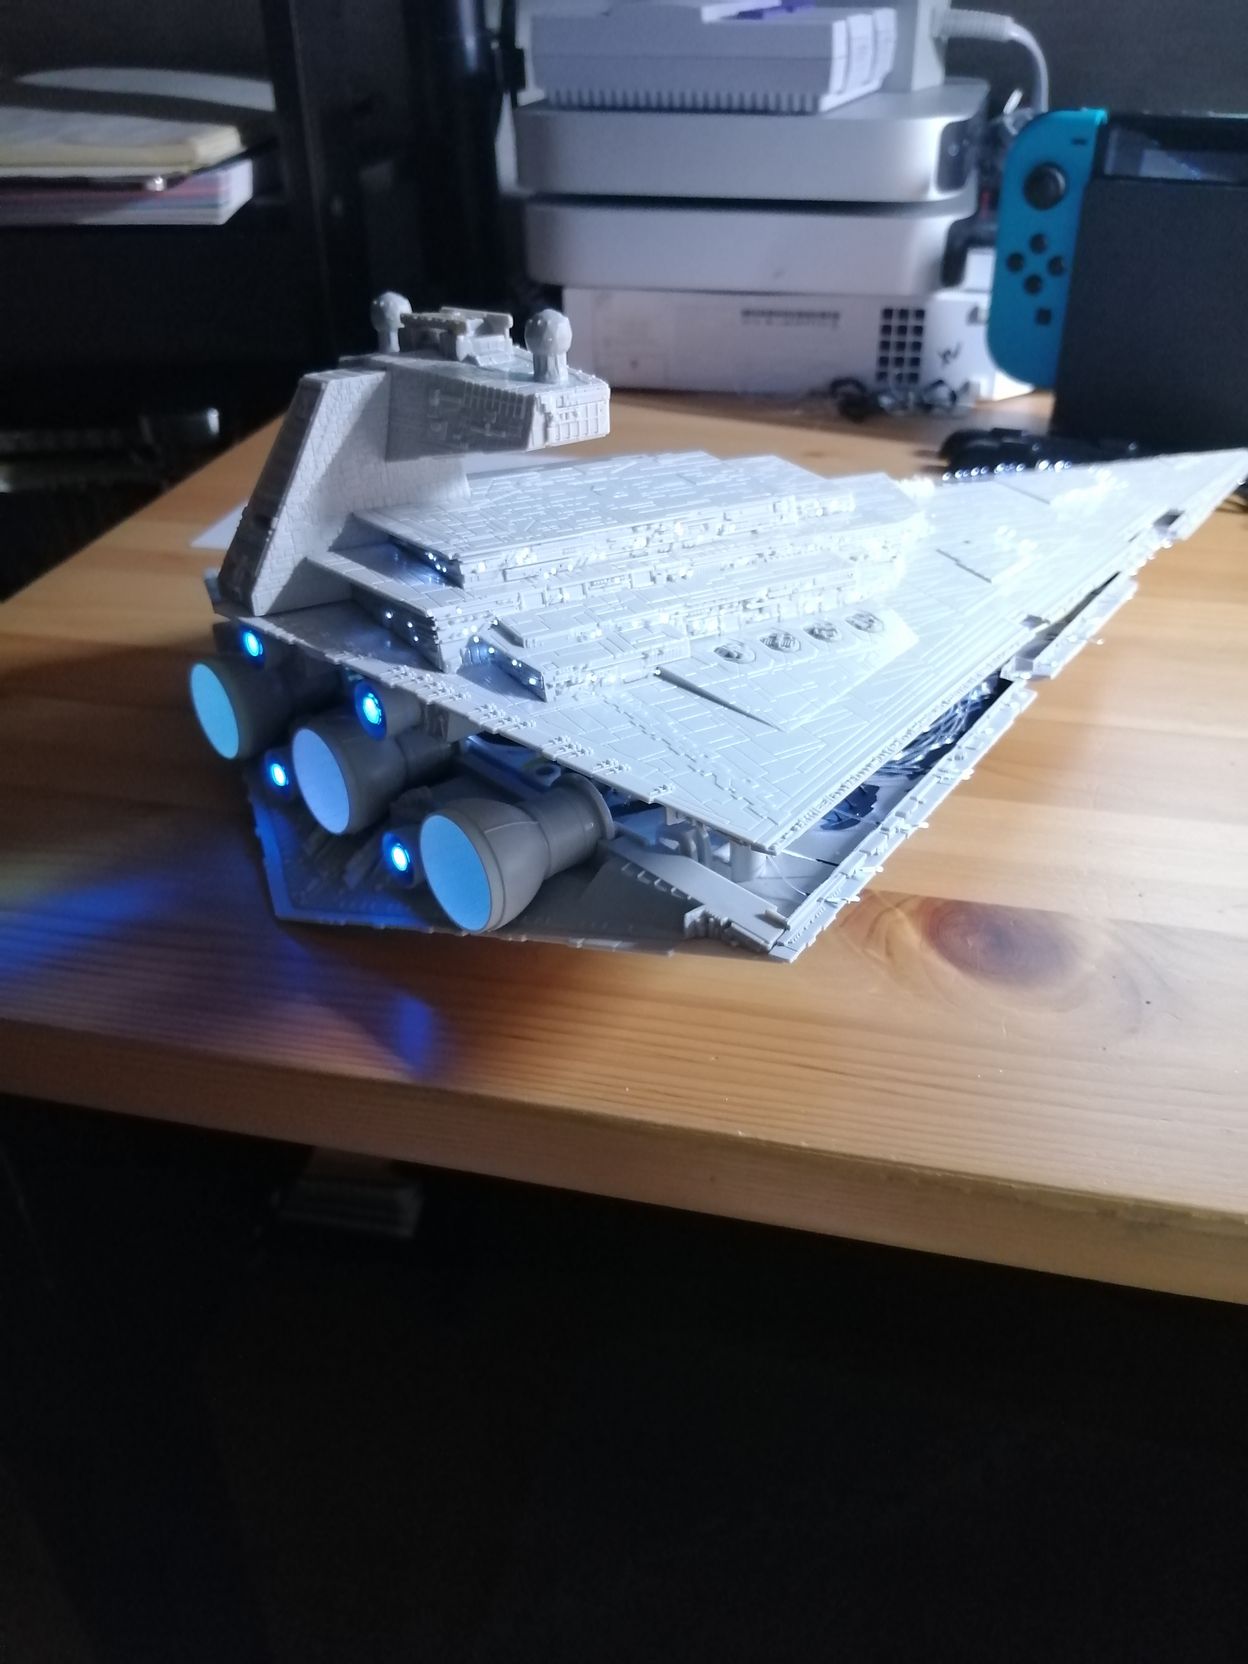
Test Runs
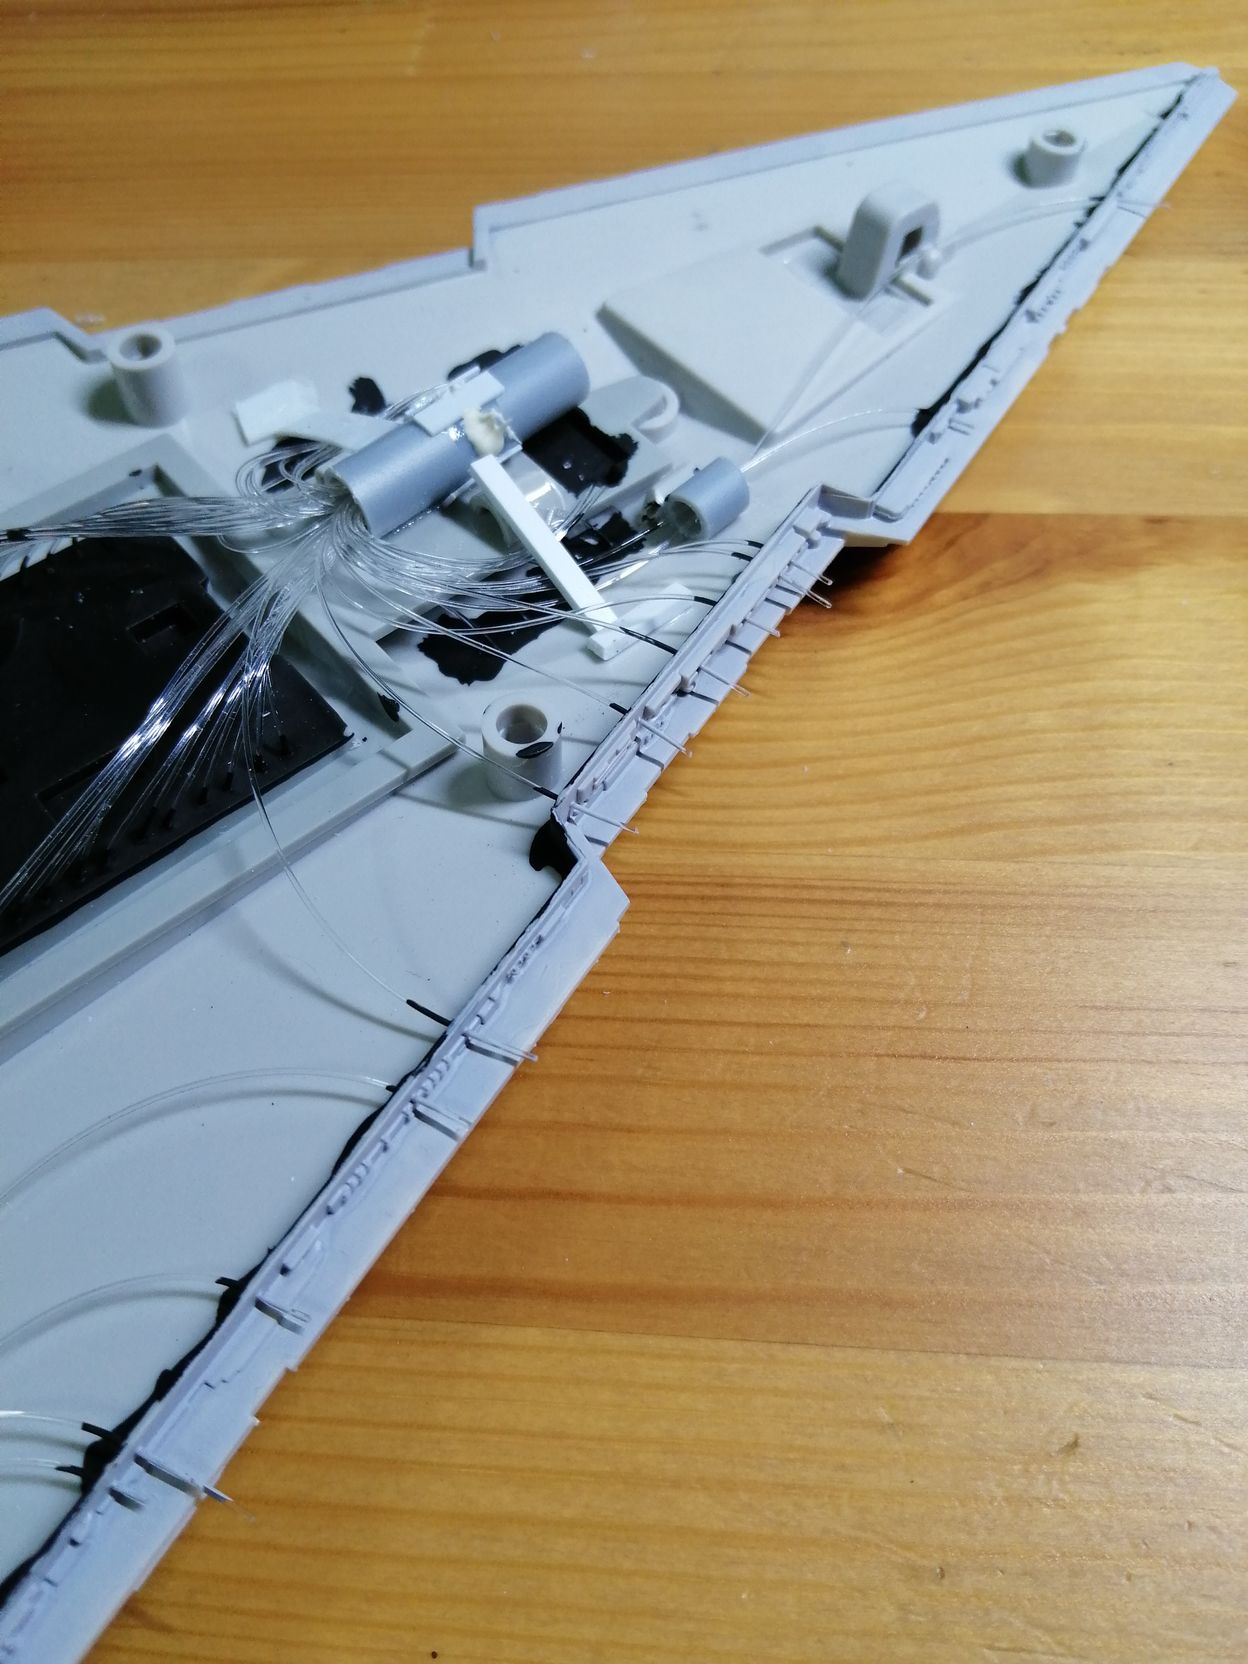
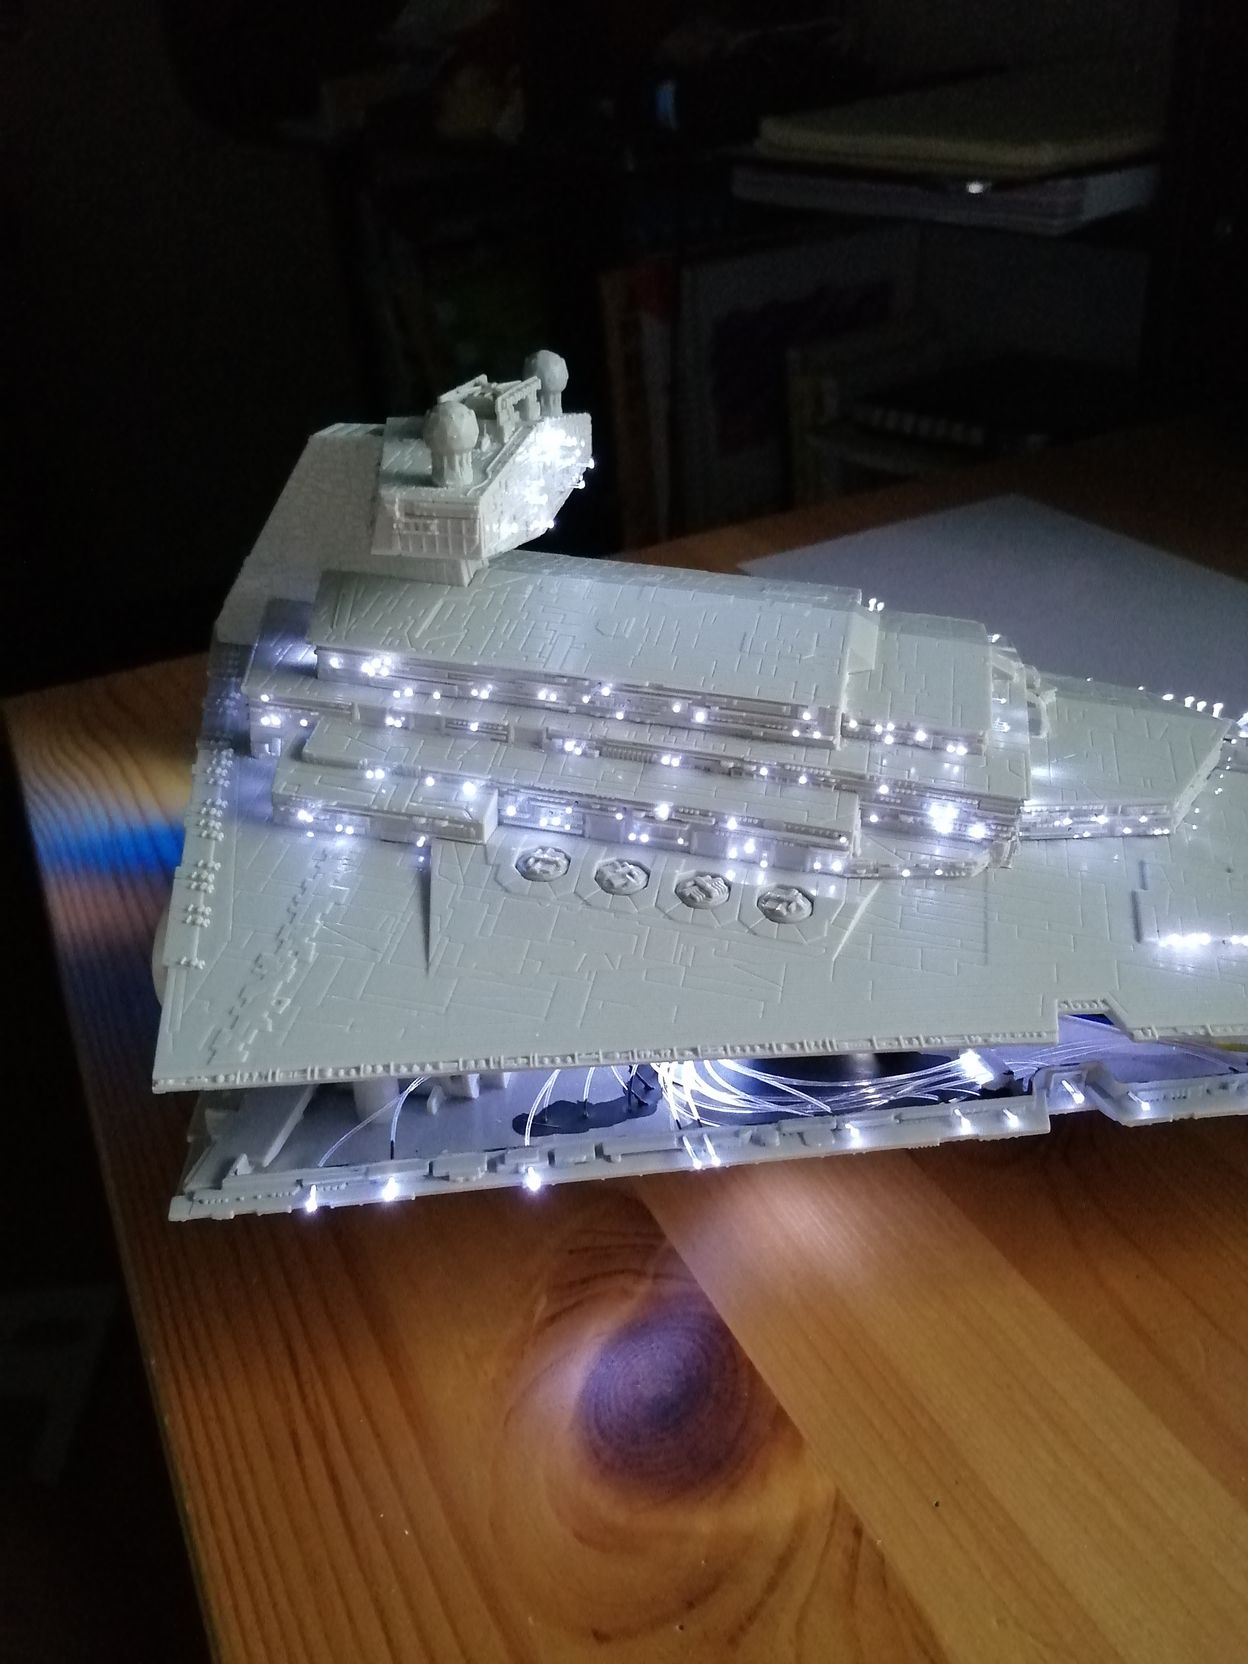
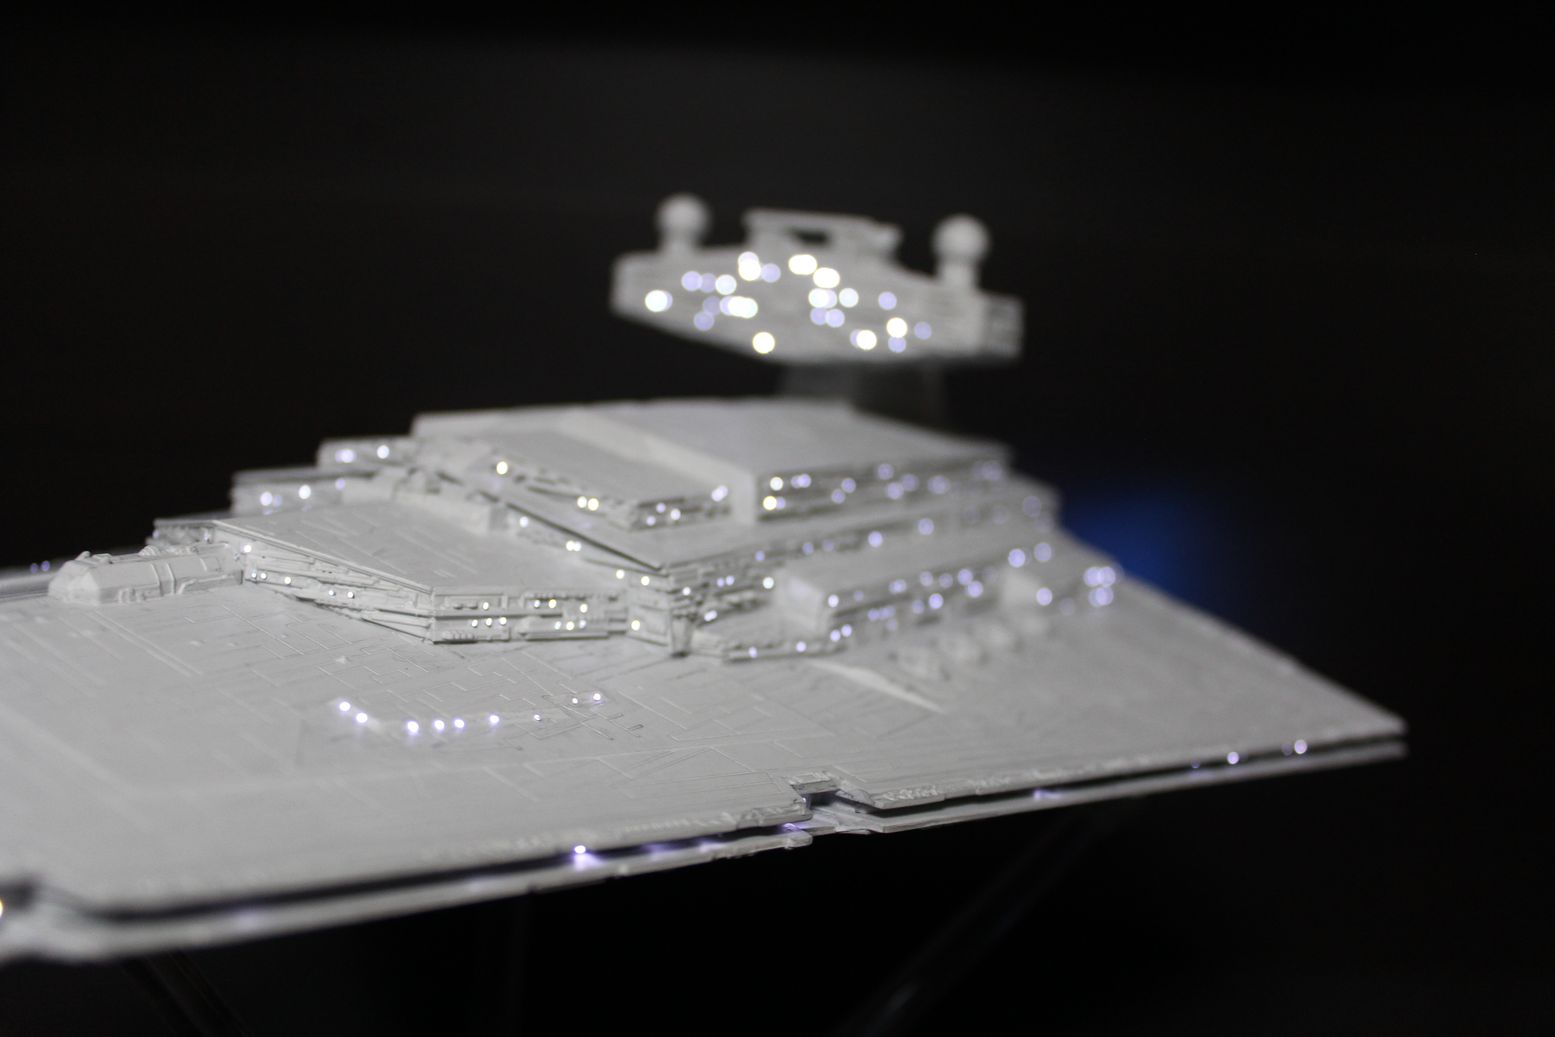
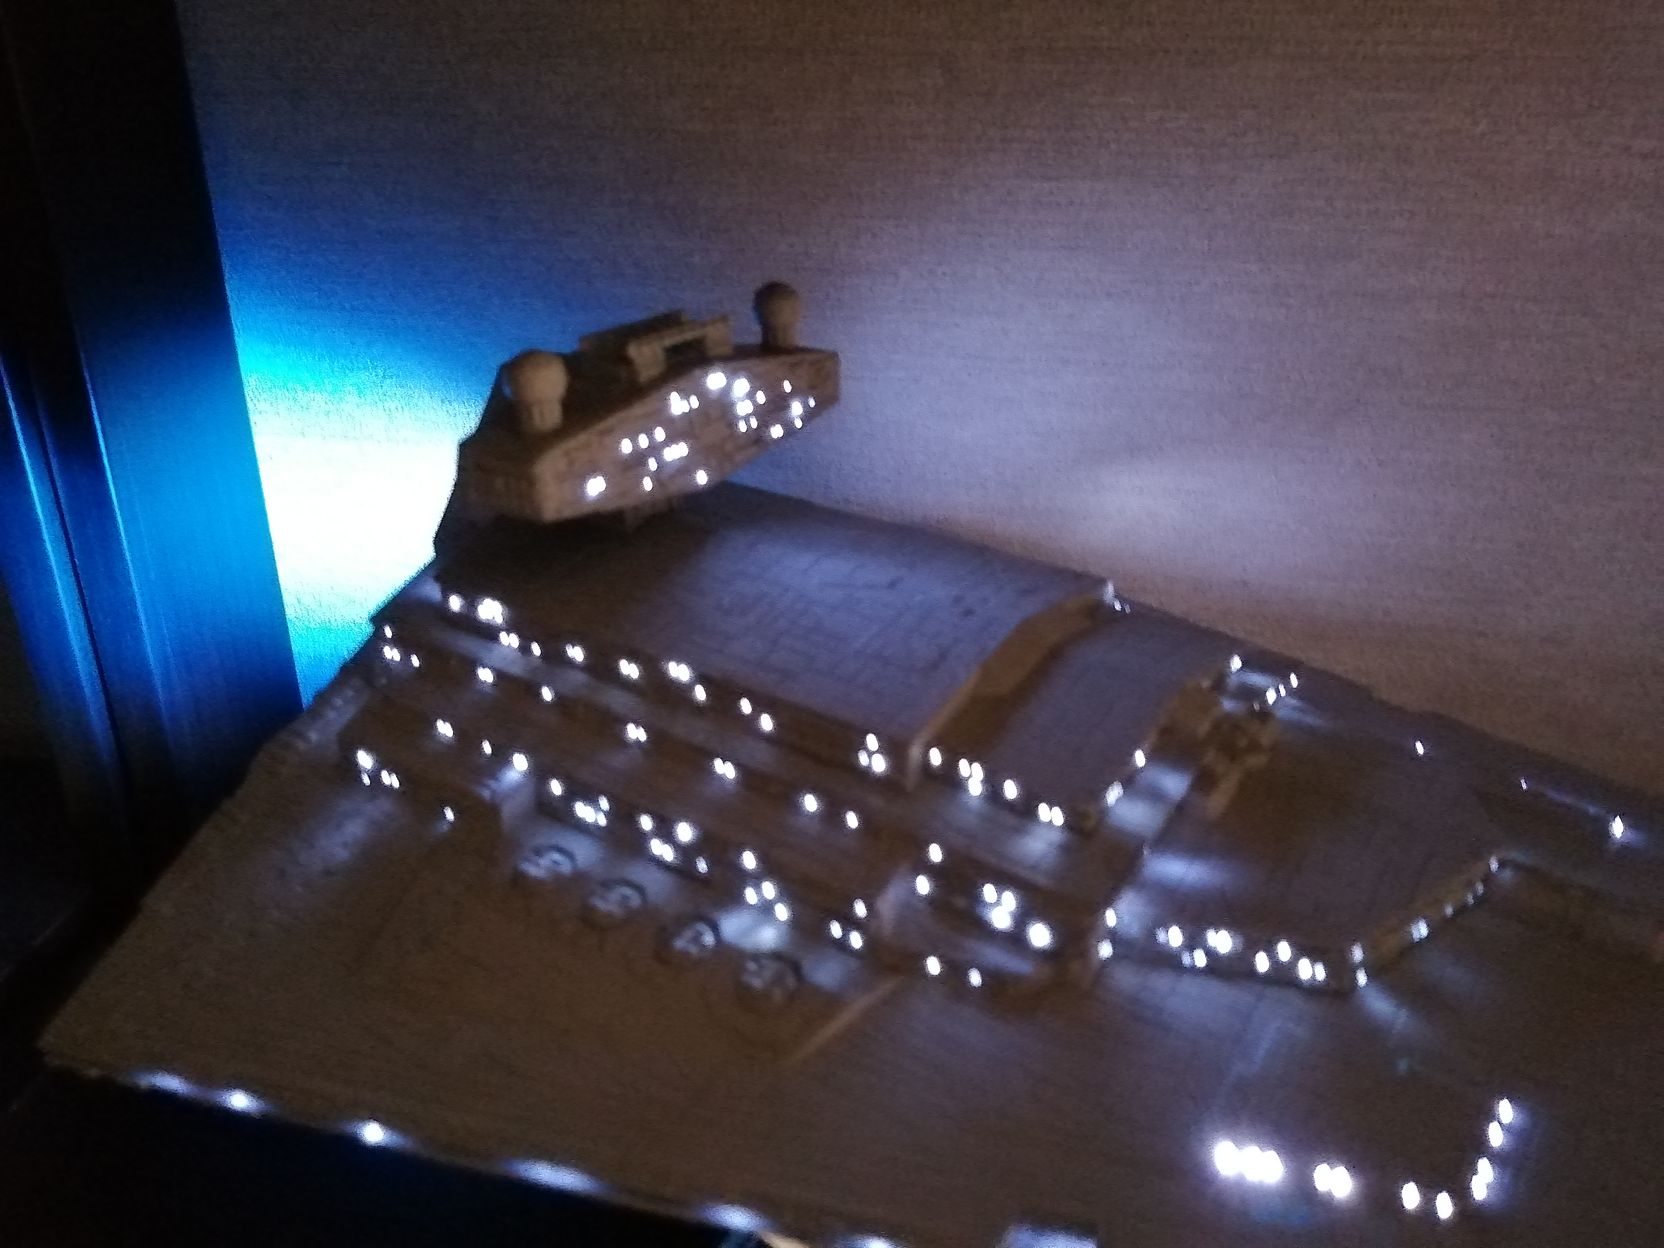
Once you’ve got the light boxes fixed up, run the wiring, this is the time to run another kind of test. Plug everything in and turn it on! Now, you’ve got lights. If everything worked, hopefully it’s looking impressive. Now you want to turn off the lights and check for light leaks. Try to seal up as much of your model as you can, and if you see any thing that is lit that shouldn’t be then now is the time to fix it.
In my case, I found a section that wasn’t getting lit properly from one of the light boxes and had to redo it. That’s why it’s always a good idea to test and then test again. This can be harder if you’re doing something fancy and you won’t be able to really test it till it’s completely sealed. Still, you’ll get the best result if you thoroughly check that everything lights up the right way before you seal it all in.


Testing for light function and light leaks 
Painting and Finishing
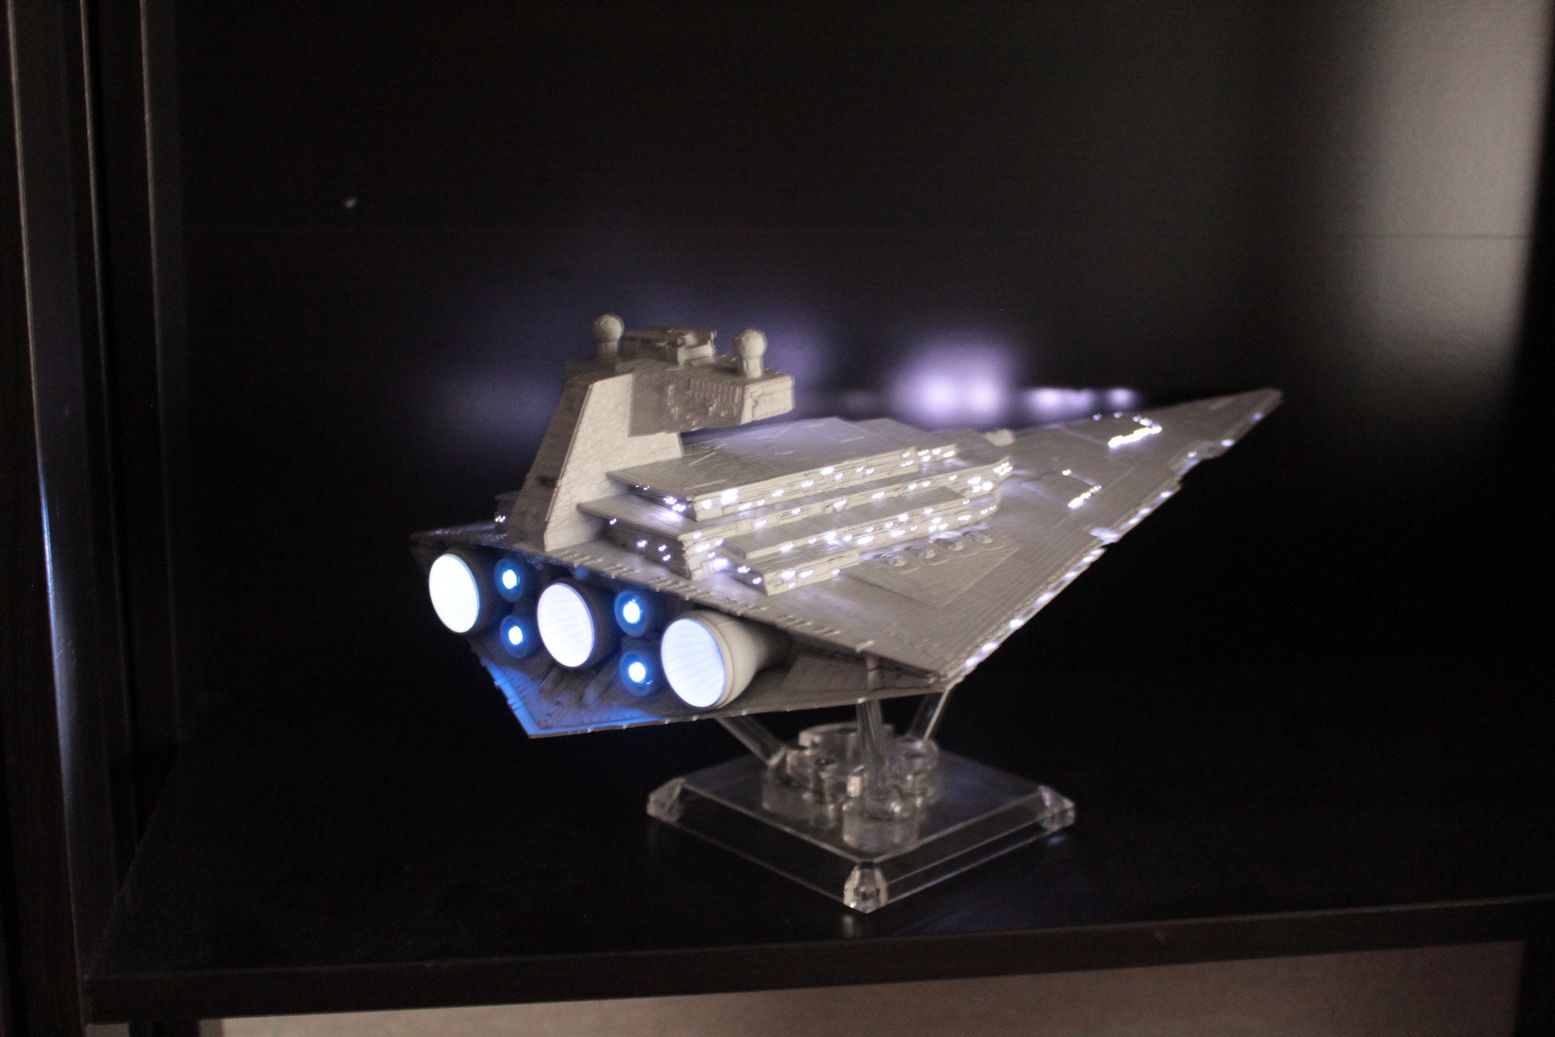
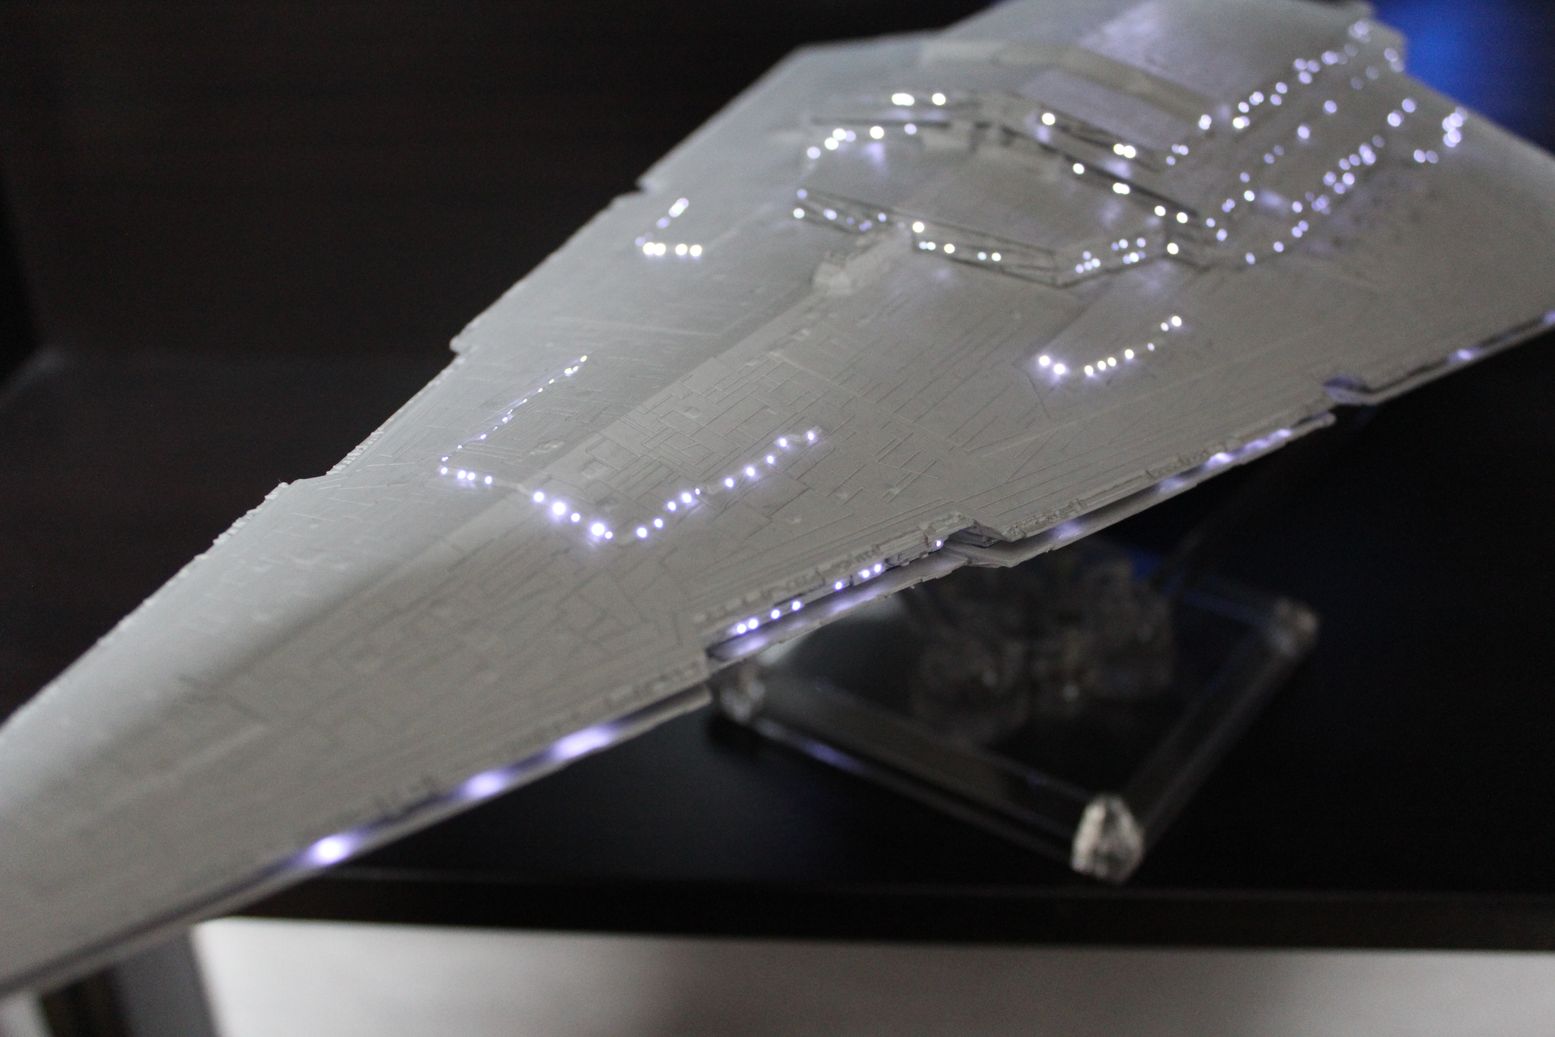
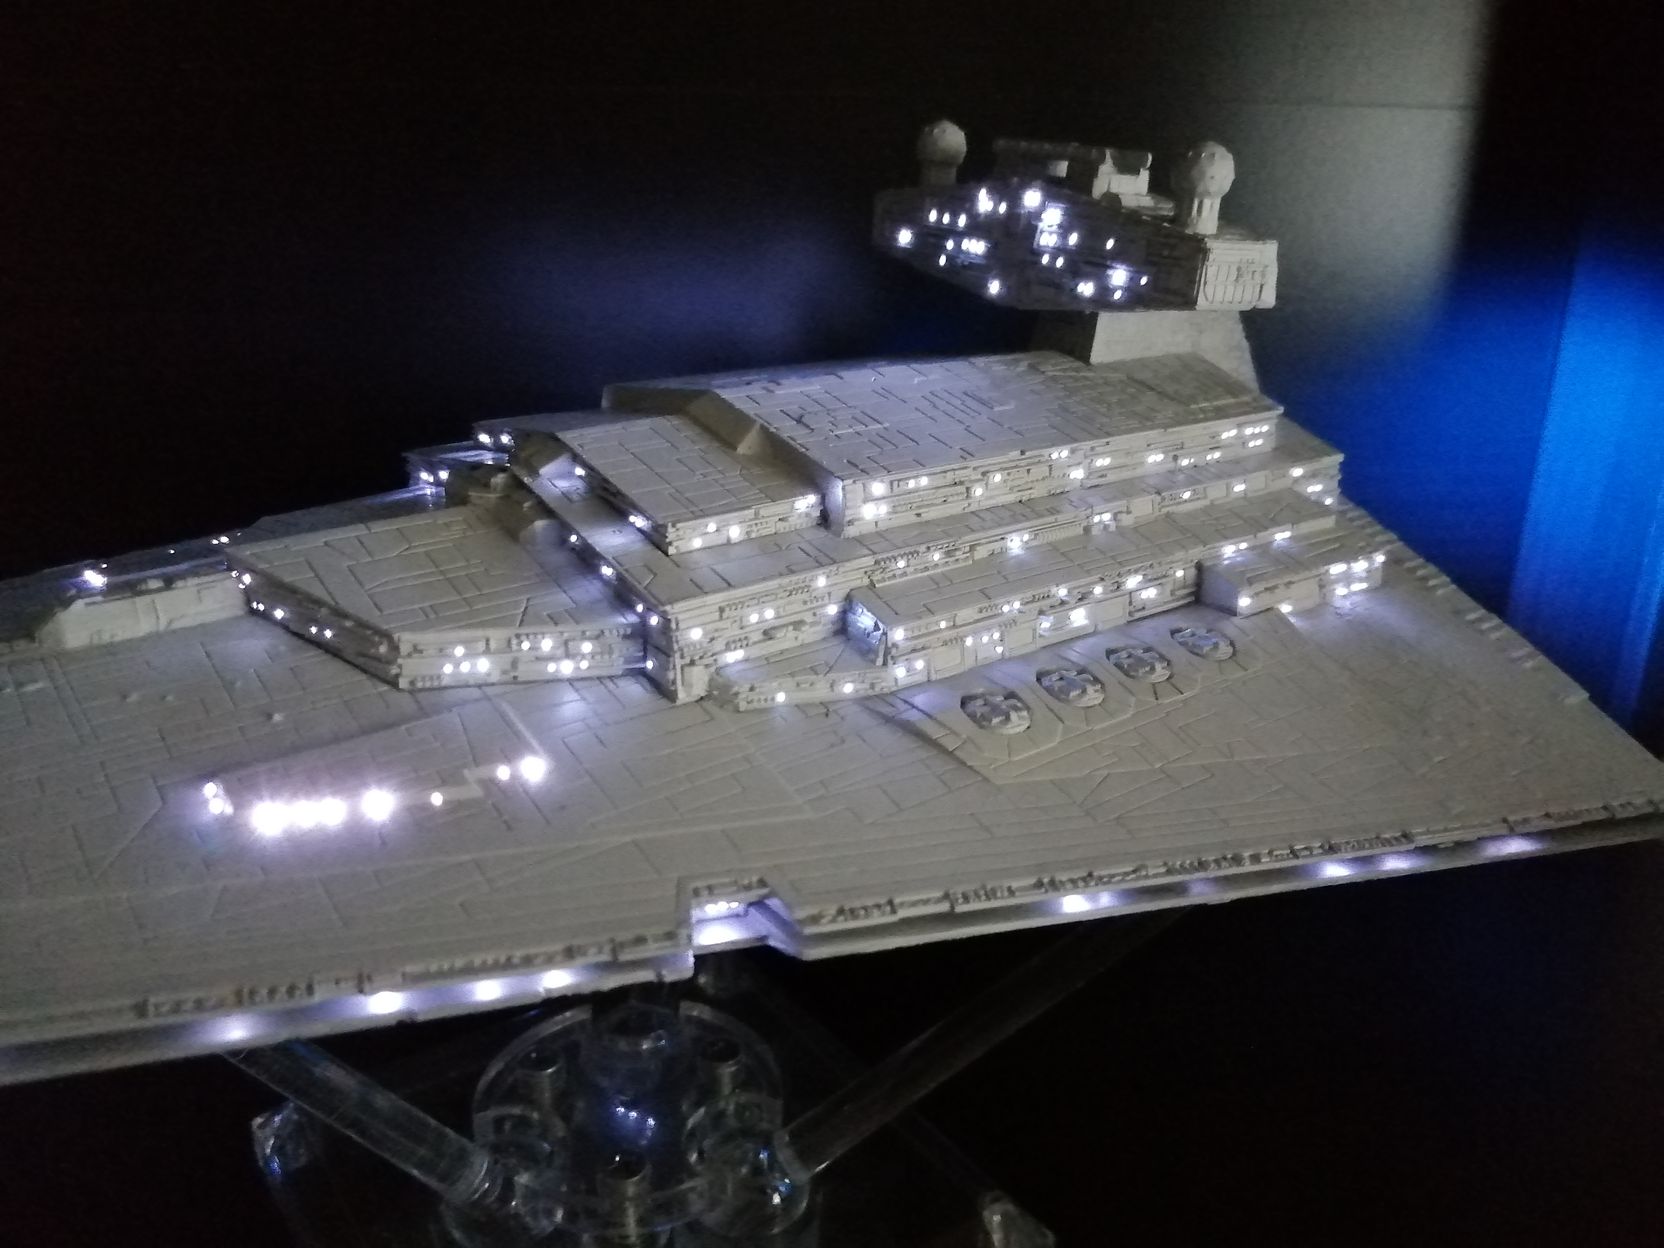
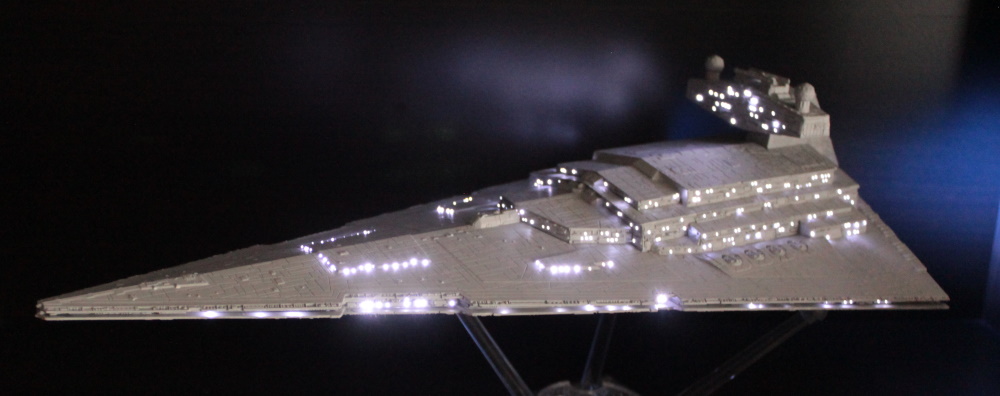
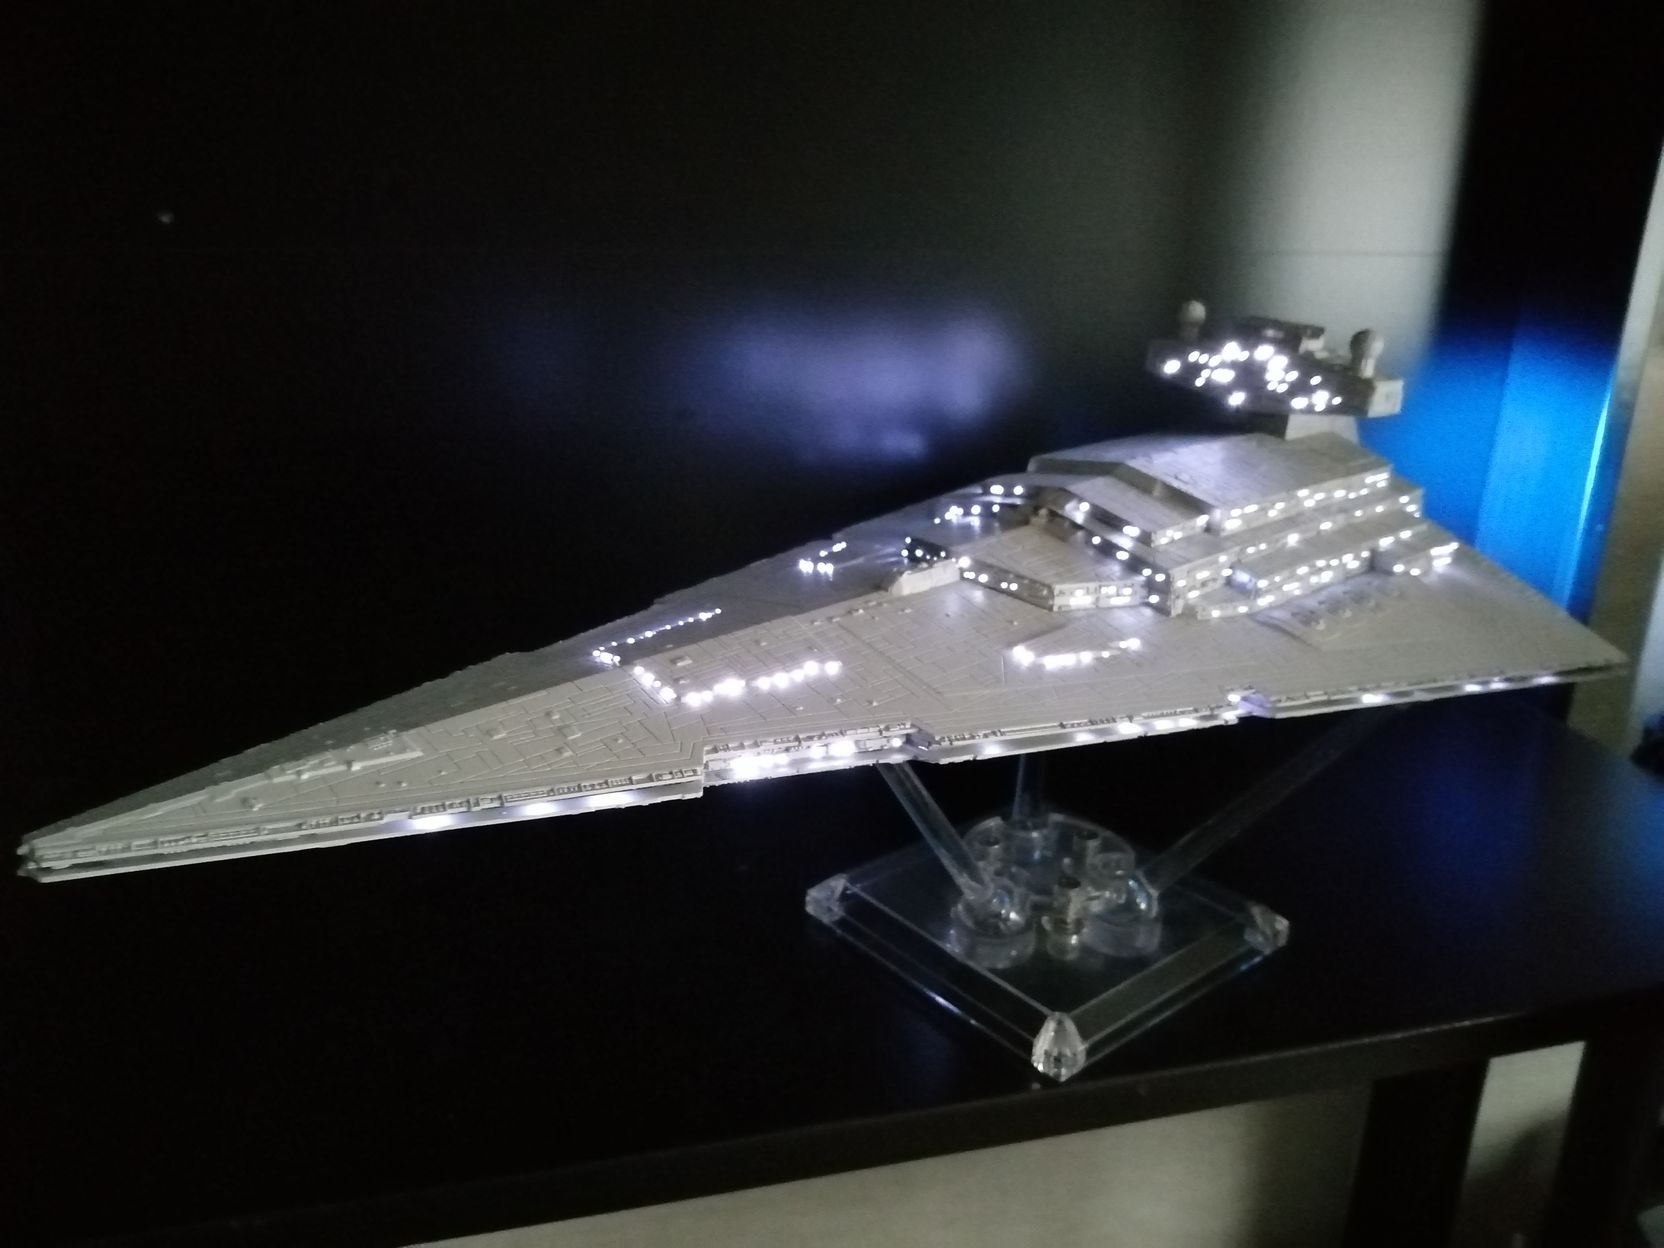
Once I finished up the testing. It was onto the painting. I mixed up a batch of light gray paint, just off white really. Basically, a couple of drops of black in a short bottle of Tamiya White Enamel. A star destroyer is pretty simple paint wise, so I basically used that as the main paint coat. After that I finished it off with a dark gray wash to make all the details pop.
With the main painting done, I trimmed all of the fiber optics and put down a matte clear coat. I also put in some magnets on the edge of the wings to help hold them in place.
And that’s it. A lot of work, but the result hopefully speaks for itself. I do need to get better with the photography though. Maybe that’s next on the list for practice.
Recent Comments